With Bokashi compost preparation, you can compost any organic waste inside with nothing more than a sealed container!
It’s a fermentation method that keeps all of the nutrients, minerals, and trace elements in organic waste.
It swiftly breaks down once absorbed into the soil, giving an excellent fertilizer for your organic crops.
The bokashi is ready after two weeks in a bucket.
Instead of using aerobic bacteria to break down the organic waste as conventional composting, this technique utilizes anaerobic bacteria.
During fermentation, no heat, methane, or carbon dioxide are generated. As a result, it has a considerably greater carbon content than conventional composting techniques. There’s no need to spin it or add water, and you’ll never have to worry about carbon-to-nitrogen ratios again!
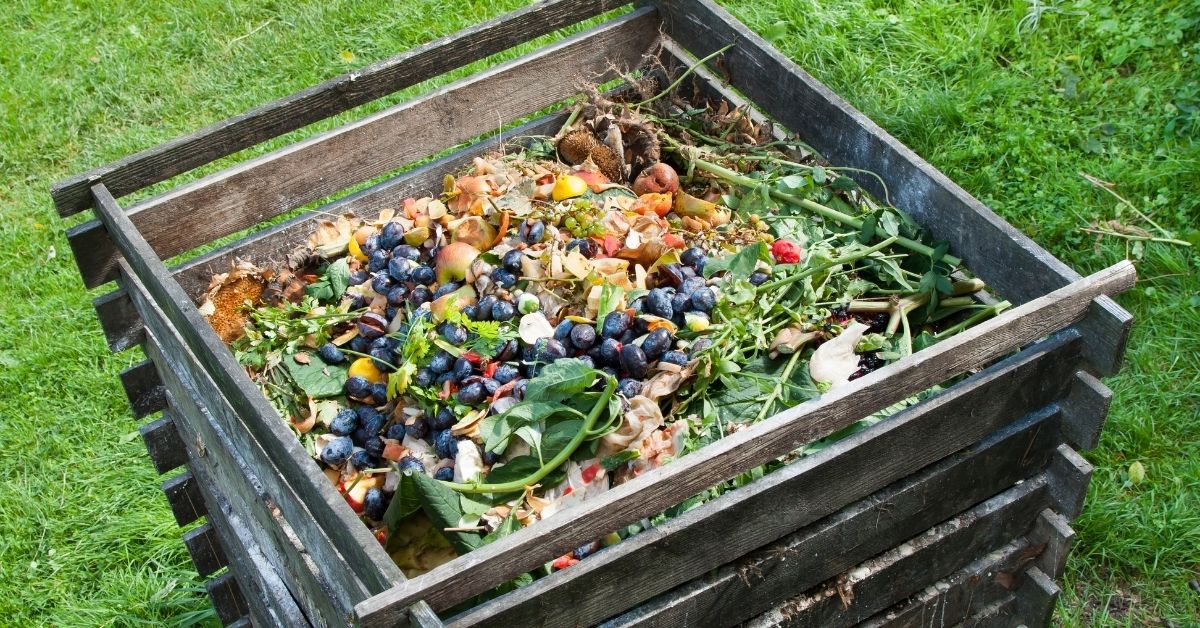
Simply add your kitchen waste, firmly push them in, and top with a layer of Bokashi Bran before replacing the lid. It doesn’t get much more straightforward than that!
You can recycle 100% of your organic waste using Bokashi compost!
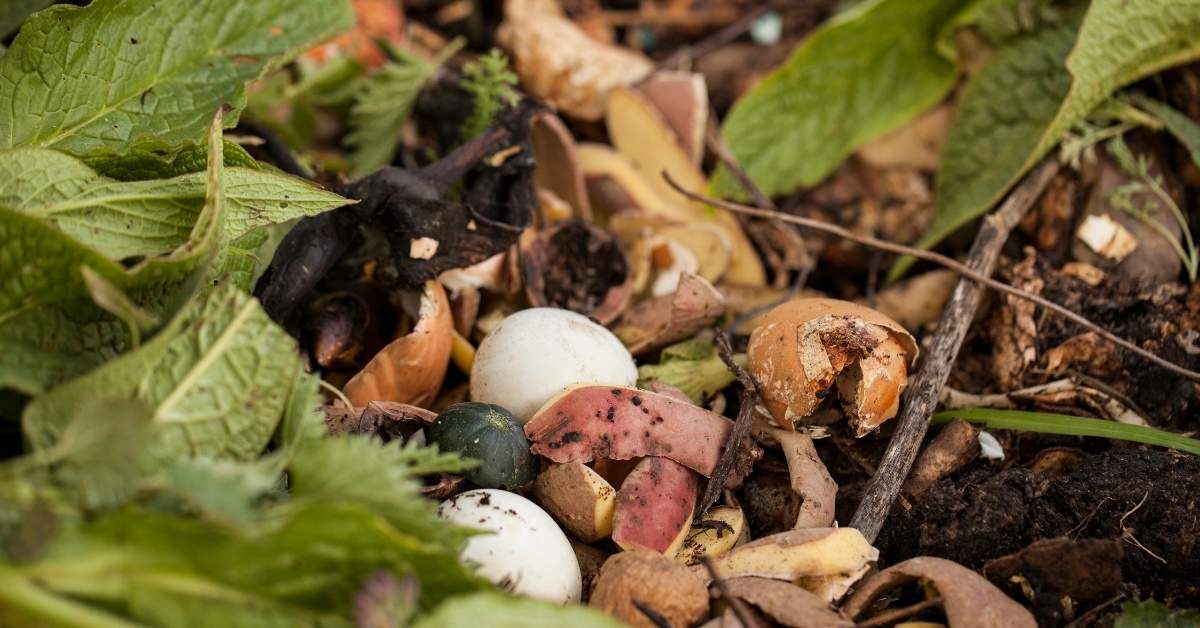
You may compost every piece of organic waste that your home produces as long as you maintain the contents of your bucket as compacted as possible and covered in an airtight container at all times.
Everything, including orange peels, tiny bones, cheese, fish leftovers, hair, and even nail clippings, is fair game.
You might also want to know why you need to make Cotton Burr Compost at home.
Starting your Bokashi bucket will organically convert all of your household’s organic waste into a form that your soil can readily break down. It’s the pinnacle of recycling!
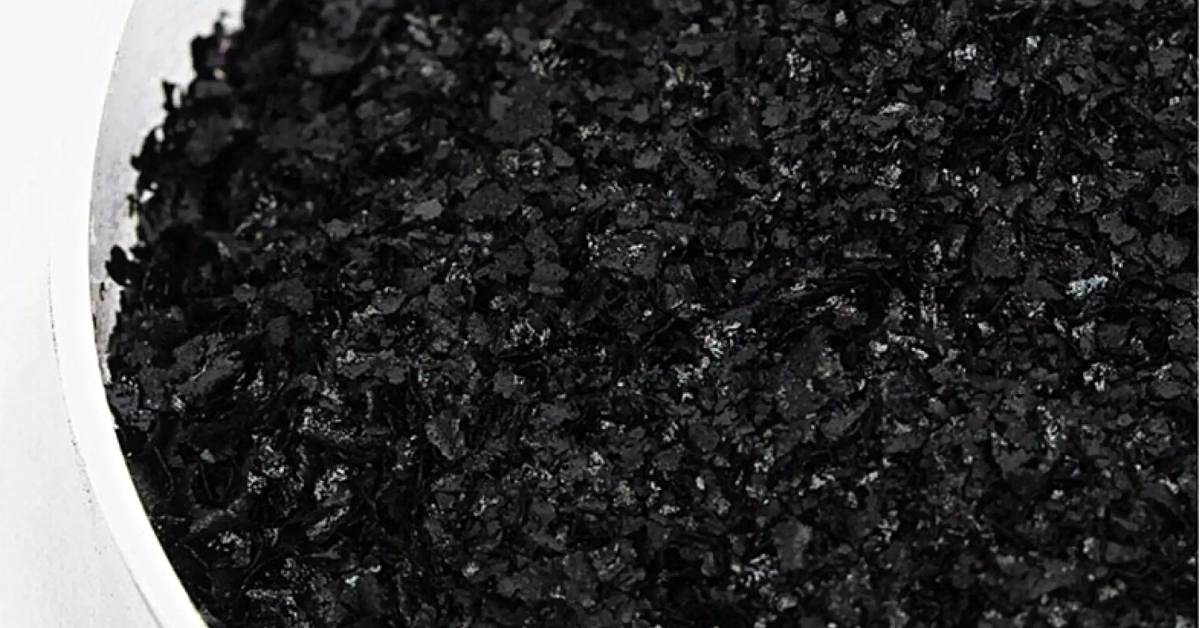
The key of Bokashi Bran is that each square centimeter is injected with billions of beneficial anaerobic microorganisms.
Pickles, bread, cheese, wine, and even your beloved yogurt all contain these germs. They are entirely risk-free! Instead of composting, this bacterium ferments your organic waste in your bucket. You are inoculating wheat or rice bran with EM-1 (EM stands for “Effective Microorganisms”) results in Bokashi Bran.
Several types of yeast, photosynthetic bacteria, and lactic acid bacteria make up this unique blend. EM-1 is pathogen-free and devoid of genetically modified organisms (GMOs).
These microorganisms get to work helping your plants develop healthily while also aiding in the overwhelming of disease pathogens after they’ve been introduced into your soil.
Dr. Tuero Higa developed the phrase “effective microorganisms” after discovering and pioneering the science of mixing several bacteria and yeast species in a single liquid culture.
All of this occurred when he was a lecturer at Okinawa’s College of Agriculture in the late 1960s. Dr. Higa’s finding is not found in any other formulation. (A patent covers the EM-1.)
While Effective Microorganisms are largely unknown in the United States, they have been used for almost half a century on virtually every continent and in over 150 nations across the world!
When it came time to purchase some to test for myself, I went to Teraganix, the only laboratory in the United States that is the authority to permit to manufacture and sell EM-1 since 1992. And who better to ask than the people who created it?
With my bokashi bucket, what can I expect?
Your trash will not decompose; it will maintain about the same bulk as when it was placed in the bucket.
It will not decay or become black. Nothing is broken down, and therefore nothing is thrown away. Effective Microorganisms will be injected throughout the entire contents.
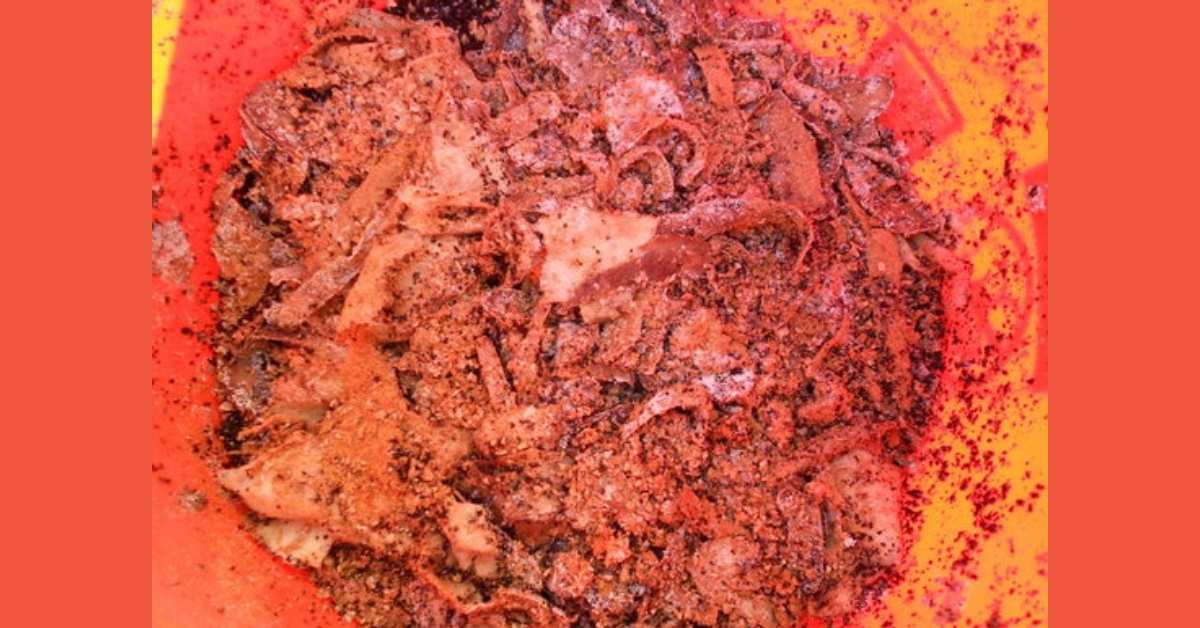
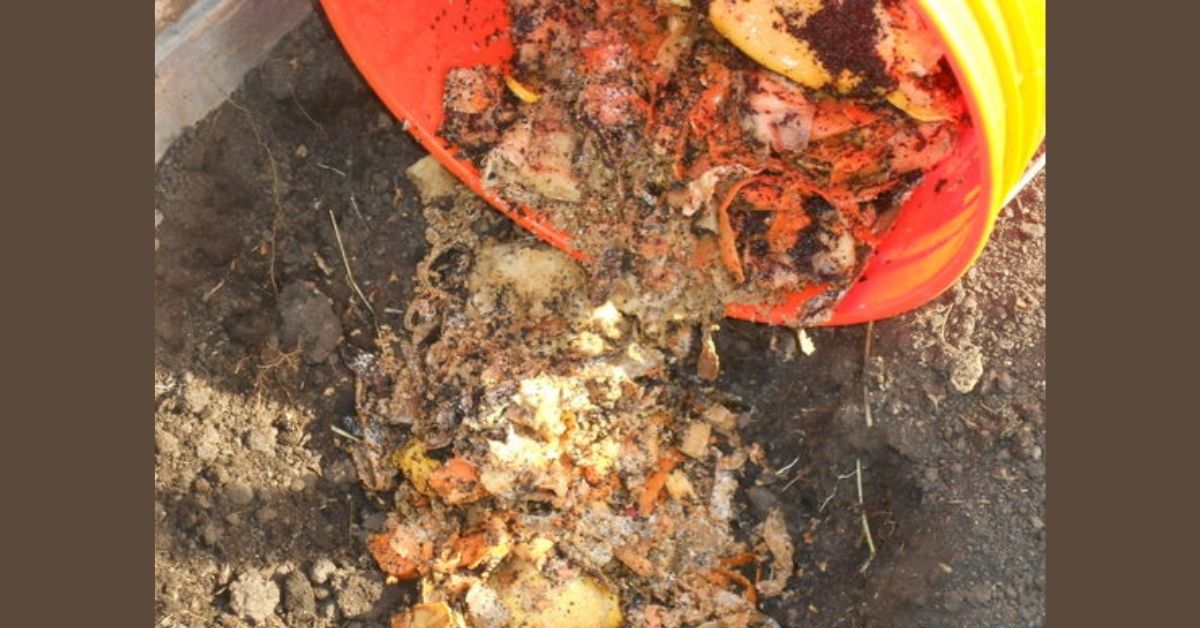
Then it’s time to bury it in your garden, where it will quickly decompose. When your bucket is filled, push it down to eliminate any extra air before adding a second layer of bran. After that, put it away for two weeks. That’s all there is to it!
When you remove the lid, you’ll most likely see white fungus developing on the top, which is a positive indication! It’s a visual indication that it’s been properly fermented.
You’ll see white fungus developing after two weeks.
I don’t fill my buckets all the way to the top since they’re too heavy for me to lift. You can dig a hole in one of your raised beds, fill it with water from a bucket, and cover it with four inches of dirt. Except for a slight orange peel or a big chunk that wasn’t chopped up, there is nothing that I can see that hasn’t disintegrated after approximately two weeks. Usually, it’s crawling with worms!
Bokashi that has been finished, is also great for container gardening. Place a few inches of dirt at the bottom of a container, then fill with soil and plant as usual. It will nourish your plants without the need for fertilizer throughout the growing season.
Depending on how much you intend to use, you may either buy pre-made Bokashi Bran or make your own! It’s a pretty straightforward procedure, and it’s a fun activity to do with the kids since it’s non-toxic!
Ingredients for Bokashi Bran Recipe (Large Batch)
- EM-1 in a tiny bottle (under $30)
- Rice or wheat bran in a 50-pound package is available at almost any cow feed shop. Wheat bran is what I use since it is approximately half the price of rice bran (around $15 including tax).
- 3 gallons of distilled water (each for less than $1)
- One molasses bottle (about $5 at most supermarket shops)
Instructions:
Place an 8’x10′ tarp on a level area, such as your garage floor or driveway. Empty the 3 gallons of distilled water into a big 5-gallon bucket. (Use distilled water since the chlorine in tap water may kill all the bacteria before you even start, and you don’t want any additional pollutants like fluoride.)
Combine 1/3 cup EM-1 (Effective Microorganisms) and 1/3 cup molasses in a mixing bowl. With clean, cleaned hands, you can adequately stir it up in approximately 20 seconds. Over the wheat bran, slowly pour the mixture you’ve laid out on the tarp in an equal layer.
Now comes the exciting part! Simply combine all of the ingredients in a large mixing bowl with your hands. If you can squeeze a handful of it without anything trickling down your arm after it’s all mixed up, mix it up a bit more. When it’s wet enough to retain its form when squeezed but still crumbly, it’s done.
Now that everything is mixed together, begin putting it into black plastic trash bags, taking caution not to overfill them, or they may break. I double up the bags for additional security. Before twisting and tying the bag, make sure to press out all of the air!
Keep in mind that we’re cultivating anaerobic bacteria in there, so any more air will just slow things down. Put it in a quiet place and let the microbes inoculate all of the wheat bran after it’s all packed up. I got around 6 good-sized bags in the end.
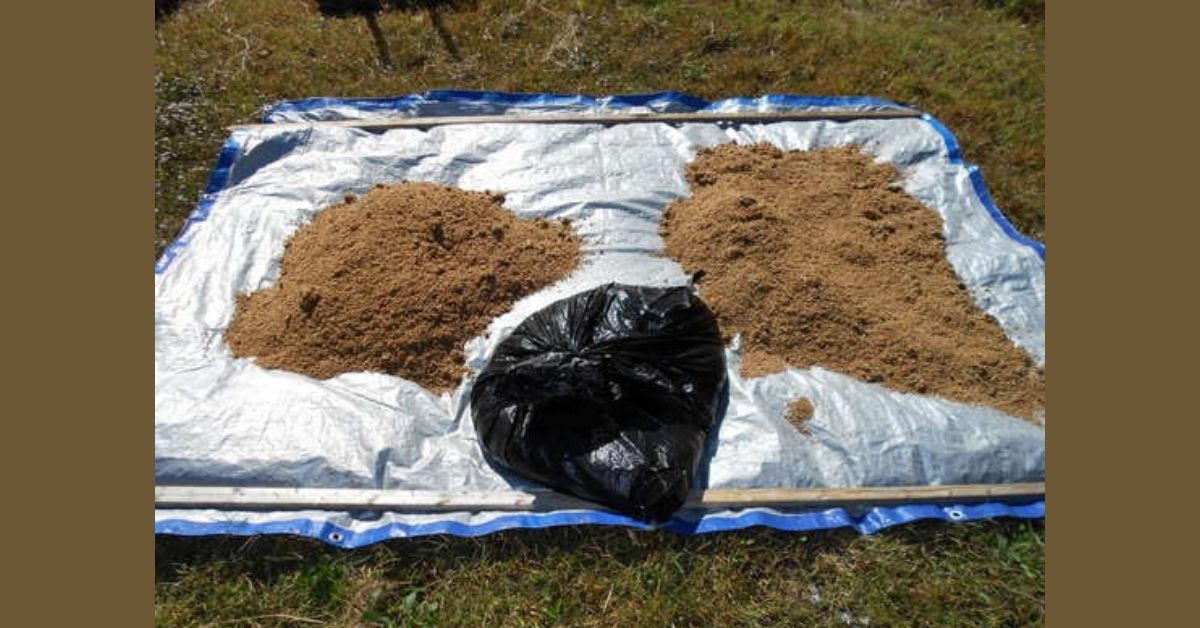
The sun dries the bokashi bran.
Layout your tarp again after two weeks and unload all of your luggage. Allow it to dry in the sun, spreading it out evenly. Three or four times during the day, give it a good stir.
Place it in a few big lawn & leaf bags and store it after it has dried enough. A 35-gallon plastic barrel is what I use. The top of the barrel may be removed and is held in place by a locking band. Remember to press out all of the air before tying up your bag.
You now have enough Bokashi to keep a few buckets running for the whole year. To help restore microorganisms in the soil, mix Bokashi bran with potting soil or straight into your garden.
Ingredients for Bokashi Bran Recipe: Small Batch
- 2 ½ pounds of bulk wheat or rice bran purchased from your favorite organic store
- 12 teaspoons EM-1 and 3 tablespoons molasses
- distilled water (three cups)
Instructions:
As directed above, combine all ingredients in a mixing bowl. It should be stored in two big zip-lock baggies, then rolled up and placed in another bag. Place for at least two weeks in a warm, dark place. Then, before re-storing, drain the bag and spread it out to dry thoroughly. Small batches are ideal for individuals who have limited space or wish to test a recipe before moving on to a larger quantity.
What began as an “accident” has evolved into one of the century’s most significant advances in organic gardening and sustainable agriculture. I wish you enjoyed learning how to make bokashi compost at home. Please share the post with your friends!