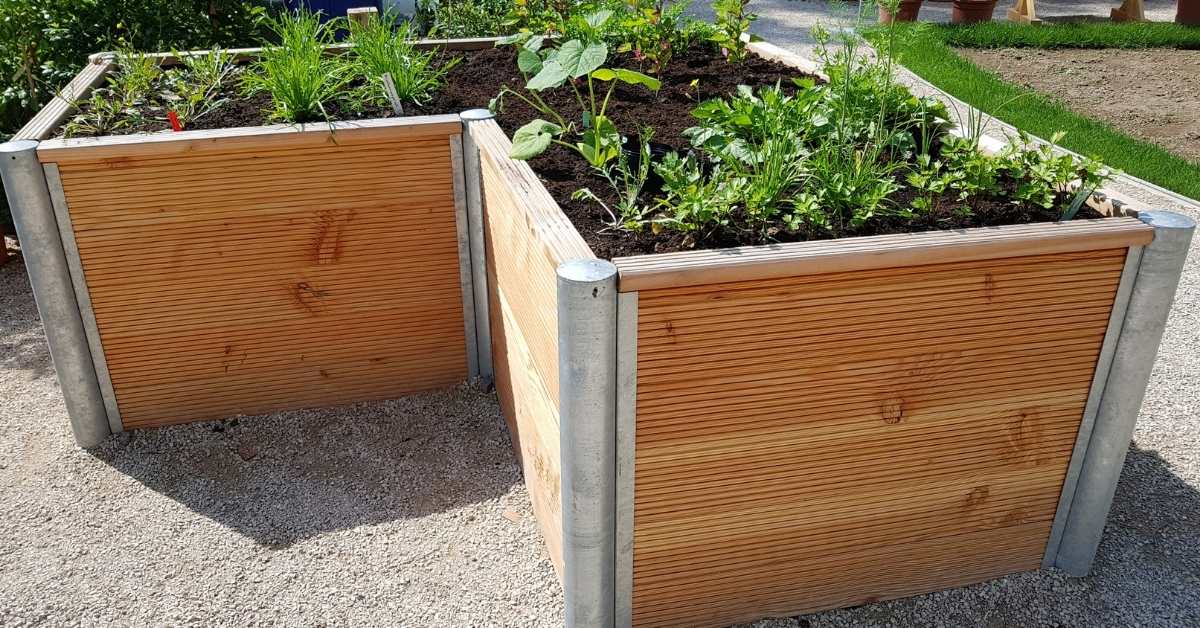
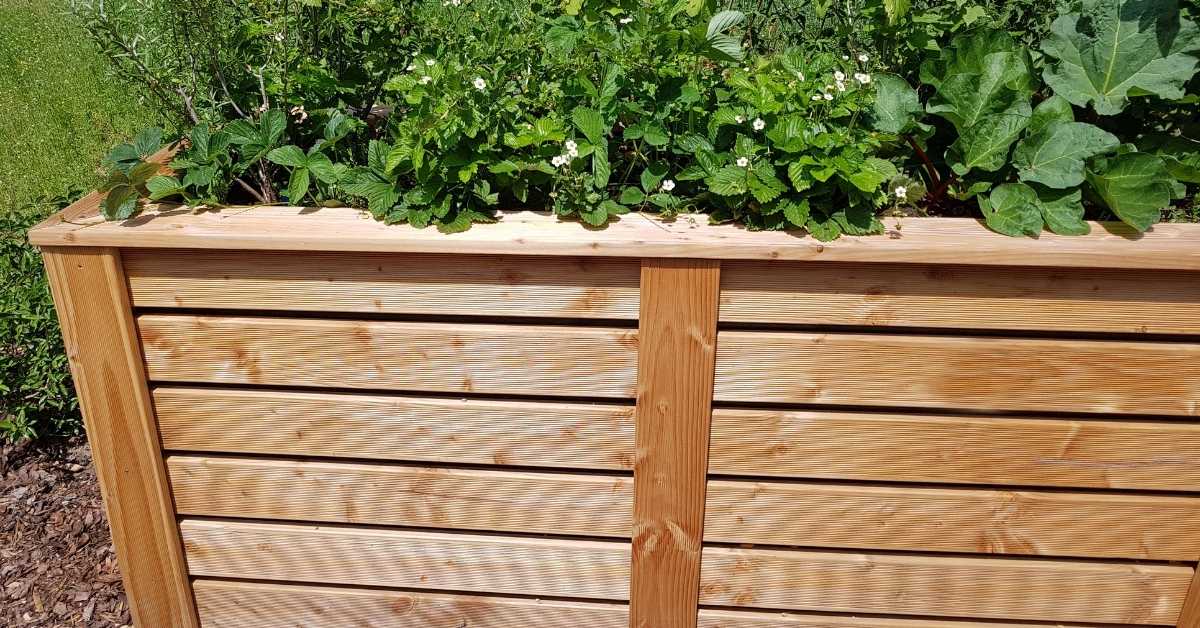
The beauty of building a raised waist high garden bed is that it is a no-dig garden, and since it is positioned at an optimum height, it is very friendly to the elderly and disabled. And in an area which is accessible, not forgetting our young gardeners within the family.
It is always quite disheartening to spend time planting your garden beds, sowing, and then going away on holiday or work excursion, only to come back, come back and find your beds full of weeds, and straggly tiny plants valiantly trying to survive.
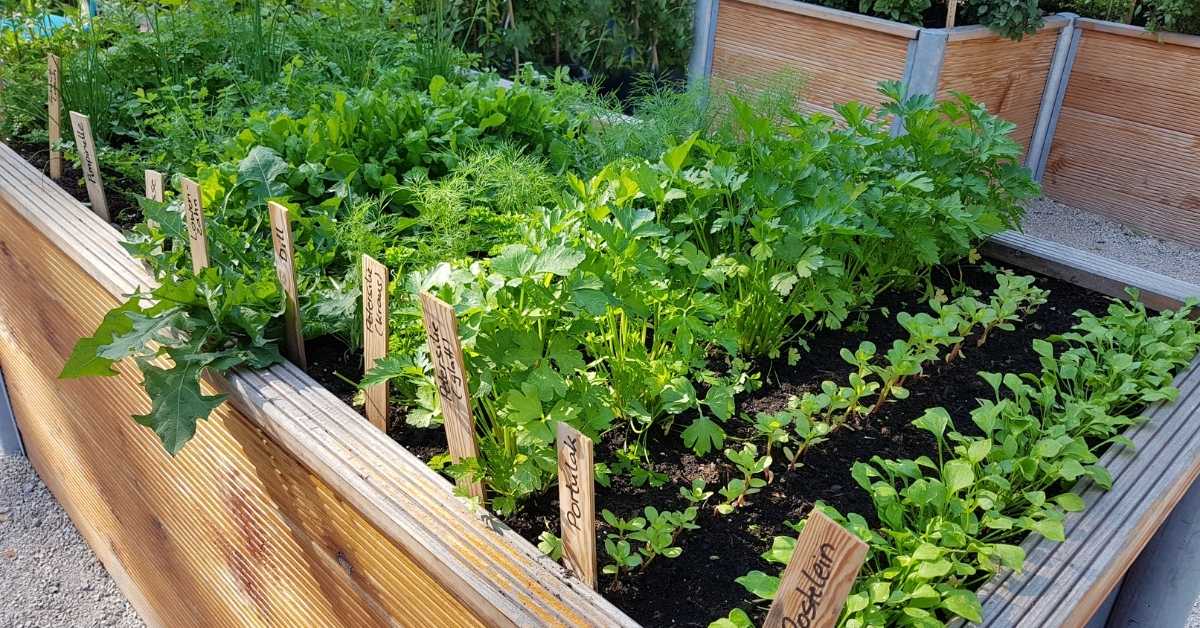
Elevated garden beds are great for drainage, your back & stop weeds from growing.
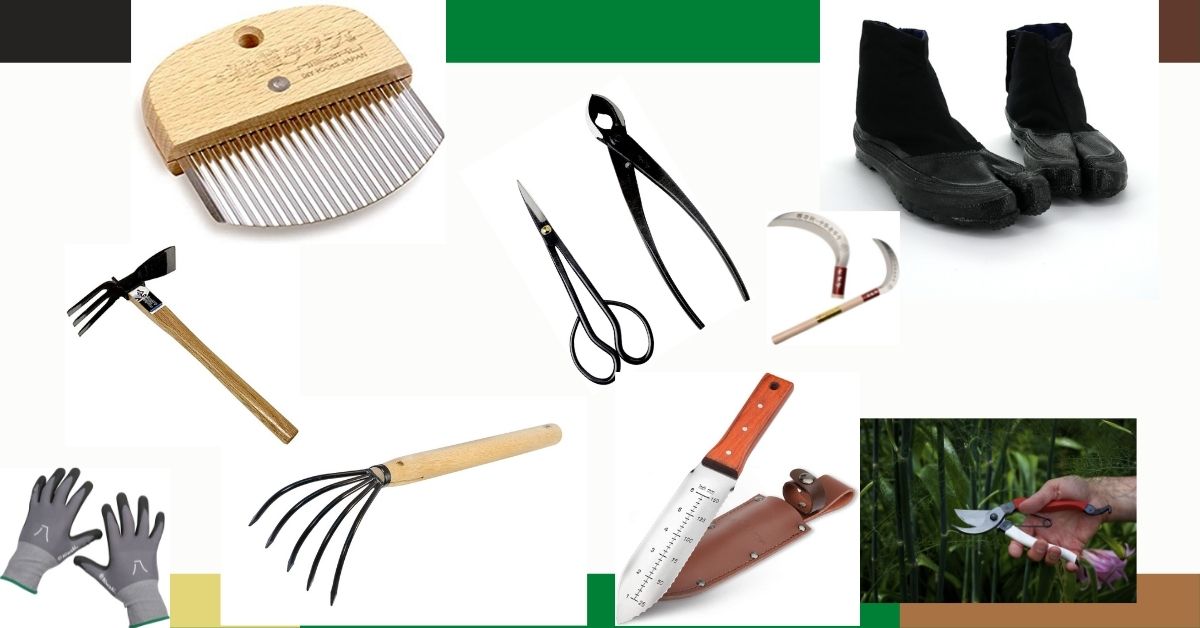
Tools for building the elevated garden bed
Timers, tubing, and sprays or drippers for watering your garden are also very easy to set up with an elevated garden bed.
They can be set for 2 minutes up to 240 minutes and can be programmed to come on at increments such as 6, 12, 24, 48 hours, and every 3rd, 4th, 5th, 7th day, etc.
These timers can be purchased from most local hardware and gardening supply stores for around $24 and are a godsend. It means you can go away and know that your vegetables are being watered consistently and safely.
Elevated gardens need one and a half sides of corrugated iron, some star posts, tie wire, and some angle iron for the corners. Most can be sourced from the Tip.
Plan your bed/s to be no more than 800mm wide. You’ll be able to sow your seeds from one side now. Any wider, and you’ll need to go around to the other side to do it.
Climate change will affect us all, and one way of minimizing our outlays is to grow our vegetables. But let’s be serious: unless it is easy, we won’t do it. Yes, we’ll have plans in the beginning, but stuff happens!
If you know you have to do a lot of bending over, weeding, raking, planting, all the time, and have problems with time/water, or your back, then the whole exercise is going to be put in the ‘too hard basket.
To avoid this, waist-high elevated garden bed plans are a great way out. Yes, it will take a weekend to make, but it is for life! Mainly if you make it using corrugated iron and star poles.
There is no bending over to either plant or weed. Picking is a dream. (Think about getting a worm farm as well and putting the castings on your veggie bed.)
When your ‘coffin’ has been filled, wire a small black poly pipe around the inside of the garden bed, as close to the earth as possible.
With a sharp implement, punch holes, every 30cm or so, for micro sprays. One end of the black poly pipe needs to be bent back and wired (as a dead-end;).
The other end needs a hose attachment to insert to go out in the evening and turn on the tap or use timers set them for 1/2hr per bed. (Always pick veg in the evening, not in the morning.)
Back to building the raised bed: To get up to waist high, you will need one sheet of corrugated iron + half a sheet, but don’t waste time cutting it with an angle grinder; overlap it to get the correct height.
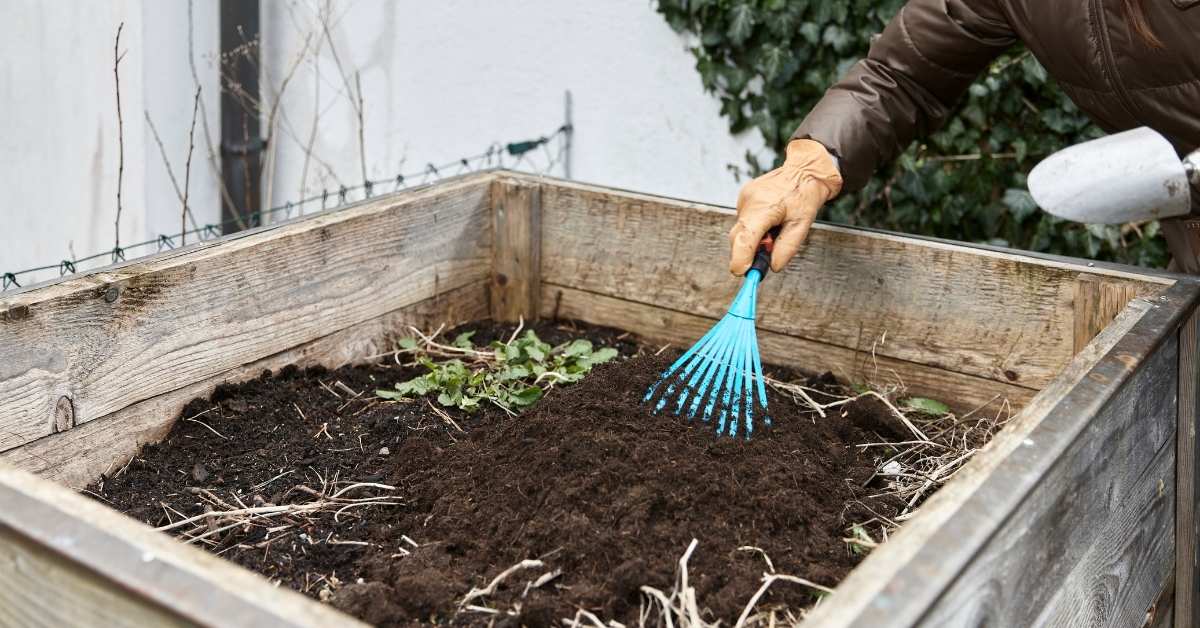
When you get the trailer load of soil, you will need to add vermiculite, blood & bone, manure, a little wood ash, and compost to it.
You will also need to add these ingredients each time you intend to sow a new crop.
Building A Raised Waist High Garden Bed
Our first one of wood is terrific, but some of the wood is degrading. It is also expensive to make and much more time-consuming than iron.
Having given you these plans, the best thing to do is build three more, all the same size.
In this way, you will have a four-year crop rotation and one shade cloth ‘house’ that can be moved to a new bed when you plant your brassicas (cauli, cabbage & broccoli – that like being eaten by the white butterfly, usually before you get a chance of eating it!)
The shade cloth is also perfect for keeping these plants cool, which will stop them from bolting.
If any of these terms or instructions are confusing, please feel free to email me with your questions.
With an elevated garden bed, there are no more aching backs, no more weeds – or, if any dare raises their heads, they are quickly nipped in the bud! And one of the most remarkable things is to go out to your garden, just before dinner, and say, “Now, which vegetables will I cook for dinner tonight!” Pure magic!
Check out this: Lose Weight with your Home Vegetable Garden
Steps For Building Your Elevated Garden Bed
The instructions below will quickly walk you through the basics of creating your own raised garden. The great thing about these garden beds is that you can construct them using a large proportion of recycled materials.
The way you construct your garden bed can also be a product of your imagination, as you may decide to vary the materials and items you use, as well as how you decorate them, to add your own desired personal touch.
If you’ve constructed your own elevated garden bed, do feel free to send me a photo and details to share as well. It’s always great to see others using their plans for raised garden beds and decorated them to suit their situation!
Step 1
Measure the area available that you can use to construct your elevated garden bed(s). Make sure you leave enough room to adequately move around the outside of your garden beds when calculating the size and placement of your bed(s).
Step 2
a) Source some recycled corrugated iron, cliplock, or trimdek to use for your garden bed(s).
b) Source builder’s rubble, a trailer load would be about suitable for a bed 400 cm x 80 cm in size.
c) Source also the best quality top soil’ you can find. You’ll still need to add to it – more on that later.
Of the three types of iron noted, Cliplock is the strongest. To get your 90cm height, however, you will need to double your measurements. Trimdek and corrugated iron are 80cm high, and if you wish to go to 90cm, then you’ll need to double it as well. Otherwise, you can simply keep the bed at 80cm in height.
Step 3
Tools: If you are using corrugated iron, then you will need to use tin snips to cut the corrugated iron ends. A good pair of wire cutters capable of cutting the gauge of tie wire you are using is also recommended, although tin snips may also function just as well as wire cutters if you find yourself without wire cutters.
A pair of gloves will definitely also be helpful when handling the iron to avoid being pricked or cut by any sharp or rusty edges.
Star posts (pickets) will be required to brace your garden bed. The height of the posts should be selected to match your garden bed height, making sure you also factor in ample height to use them for mounting any meshing and ample depth into the soil to provide enough strength for your soil type.
For extra safety, just depending on the position and height of your posts, you may also wish to obtain some plastic end caps for your star posts in order to avoid any accidental bumps or scratches from the tops of the posts.
A star post driver will be required to drive your posts into the ground safely. Other methods may be used to move your posts into the ground, such as a large mallet; though a post driver is by far the safest and easiest method to install your posts, your body will appreciate you at the end of the day.
If you don’t have a post driver, try to inquire at your local building equipment supplier or hardware store about any businesses that may hire this equipment. You will often find a company in most moderate-sized urban centers that hire equipment for building, which often includes the smaller things such as wheelbarrows and post drivers, along with the larger powered and pneumatic tools we associate with building and building construction.
12mm Polypipe is recommended to lay around the entire top area, as well as sprays to put into them, and a hose fitting to connect the pipe circuit(s) to your tap/water supply.
Moderate Gauge Tie Wire will be required to tie the iron sheets together and thinner wire to connect the Polypipe (12mm) for the watering system.
If you have some experience in the field of construction, then you may also wish to utilize some other forms of brackets or braces to use in place of a wire, should you be more comfortable joining your iron and attaching piping this way.
Angle iron is strongly recommended for the four end edges if you wish to create a firm structure for your garden bed, though it is not essential.
Step 4
Drive your posts into the ground along the edge lines of your garden bed area you have measured out. Keep in mind that posts are going to be best placed at the joins of your iron as well and that your posts should also be placed in position well enough that they can hold the weight of the garden bed with only three sides attached (for Step 5).
Put cliplock or equivalent on the inside of the posts and tie your sheets to the posts. If using corrugated iron and you wish to achieve a height of 90cm for your garden bed, then tie the top sheets on first at the correct height.
You can aid yourself in the placement of sheets by measuring the correct high from the ground for each post and then running at string around from post to post tied off at the height you have marked on each post. This will provide you with a quick means of visually confirming your sheets are at the correct height when attached, without needing to try and ruffle a measuring tape.
Step 5
Once you have firmly attached three sides (the two longest lengths and one shorter end) to your garden bed, use the remaining open end to add some builder’s rubble into the bottom of the new bed. Other materials such as old phone books, old bricks, concrete, etc., can also be used.
Fill the bed with your rubble or material of choice until you have reached about 3/4 of the height of your bed.
Be careful that you don’t overfill your bed, though, so you won’t be able to attach your remaining fourth side.
Step 6
Wire on the last end to your garden bed and heave the remaining rubble over the edges to fill up the remaining space next to the end of the garden bed you have just attached.
Step 7
For the remaining height of your garden bed (generally 30cm), use your’ top soil’ to fill over the rubble or material that you just placed into the garden bed.
A whole garden bed of 400cm x 80cm normally takes one person about two days to complete.
You may wish to paint your garden bed as well, to help it blend in with your yard or alternatively to make it stand out artistically or for the kids, though this is not essential.
You can also buy oval elevated garden beds or flat packed ones. However, these are generally much more expensive for anything decent and do not benefit our environment by recycling materials.
Video Tour
The following video provides a short walk-through of an example elevated garden bed, complete with painted sides, hung wire meshing for dividing and supporting climbing plants, Polypipe water sprays, and wooden corner posts to help protect it from accidental collisions by vehicles and to add an earthy feel.