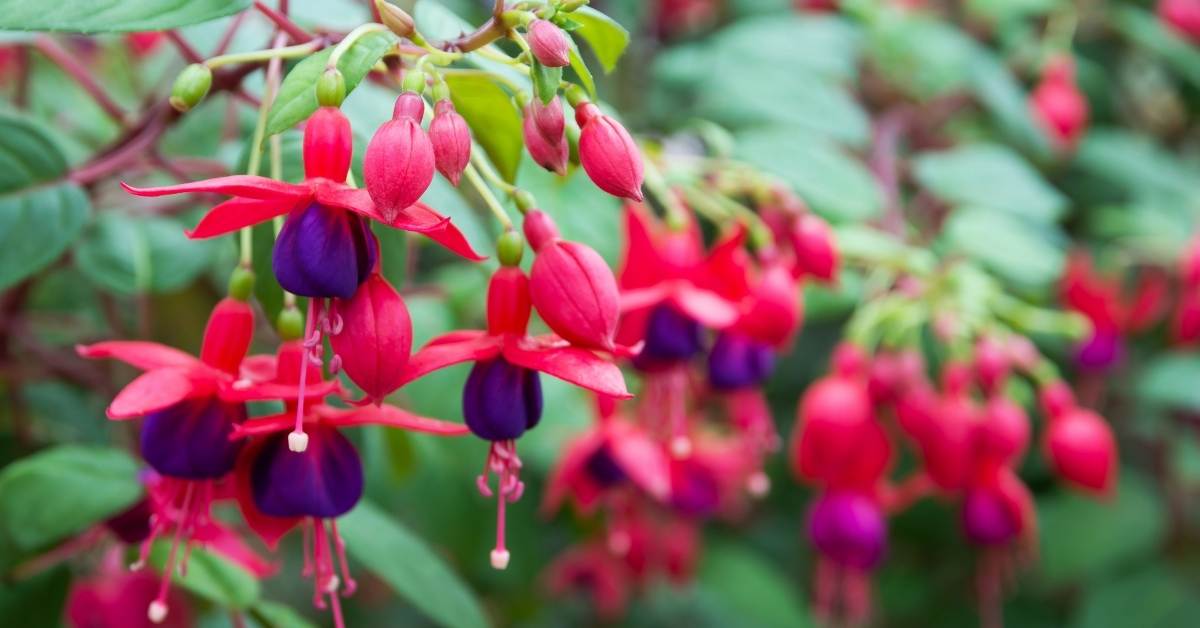
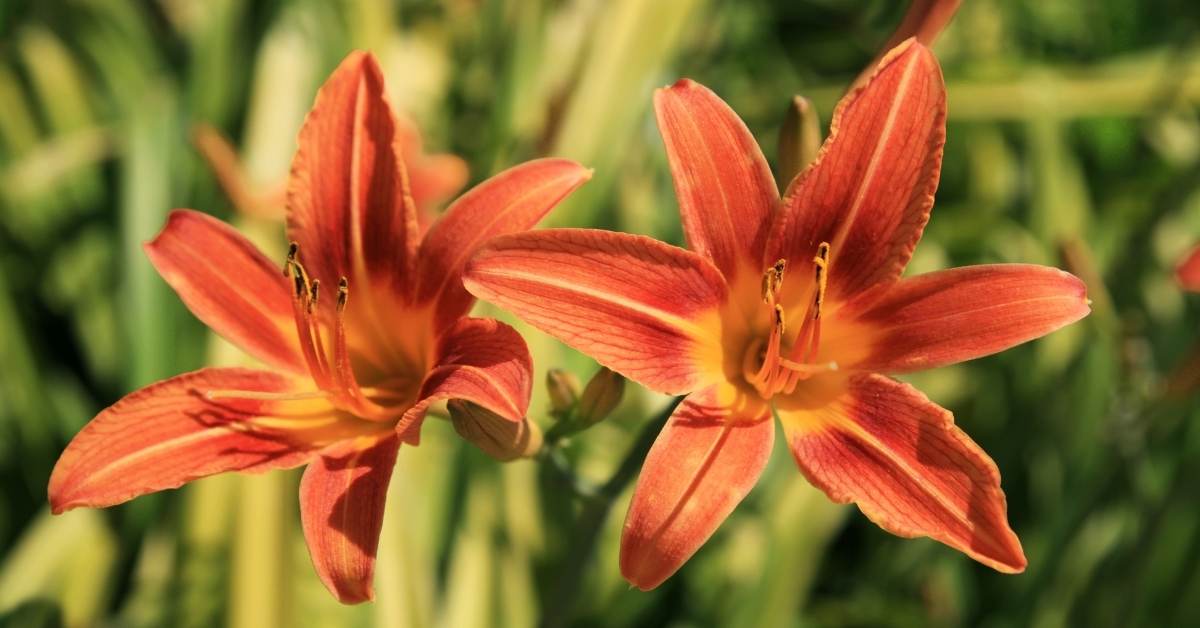
The Hemerocallis (aka daylilies) family are one of my garden stalwarts. I have newer hybrids scattered throughout my garden because they survive almost any soil and winter condition.
Here are Daylily growing conditions and how to successfully grow Daylilies.
Will daylilies grow in clay soil?
The second reason is that the more recent hybrids are repeat bloomers giving me effortless color for much of the gardening season. The good news is that daylilies will thrive in my sandy soils but will also grow quite comfortably in heavier clay soils.
Plants grown in clay soils will have more foliage than those grown in well-drained soils and, unfortunately, fewer blooms. They will survive all except water-logged soils.
Can Daylilies Grow in Shade?
Daylilies thrive in full light, as well as partial shade in the afternoon sun. It is possible to grow them in morning sun and afternoon shade, but this will result in a weaker plant with fewer flowers.
If you want to see flowers from year to year, you should not grow daylilies in full shade. And this is the last great point about the daylily; it is almost rock hardy, able to withstand early frosts, late frosts, deep mind-numbing temperatures, and the odd drought.
Soil Requirements
If you want to see the best blooms, though, give daylilies full sun in a soil that is liberally enriched with leaf mold and compost.
Building up your soil with organic matter will convince this plant it is in heaven, and it will respond with flower shows that are simply stunning. Adequate water right up until bloom time will also provide the best flower show. Daylilies are not a plant for the dry or xeric garden.
Those who specialize in growing daylilies tell us that lifting the plant and dividing it every three years will produce the most blooms per plant.
On the other hand, those same clumps will survive on their own in one place for many years and do not require dividing if you decide to be a lazy gardener. You won’t maximize your blooms per plant, but you’ll have a fantastic show from the clump.
Propagating Daylilies
If you want to increase the number of your plants, you’ll find a well-fertilized garden that will let you divide daylilies almost every year. First thing in the spring, when the clumps start to grow, dig the plant out of the ground and divide off the young shoots.
They’ll come easily away from the main plant, and as long as the division has a good chunk of root with it, it will quickly establish itself. Larger and more established plants can be ruthlessly divided by using a shovel to cut off a piece of the plant in early spring.
The entire plant does not have to be dug up to divide it; in fact, digging up a mature daylily can be quite a challenge and not done quickly.
Daylilies can also be dug during or right after flowering and divided at that time. It doesn’t like doing this, but if you happen to go to an old-fashioned nursery or daylily specialist, they’ll often do it this way.
When you get it home, cut back the leaves by one-third and plant as soon as possible in your garden. Keep the plant well-watered, and it will establish itself with a bit of setback.
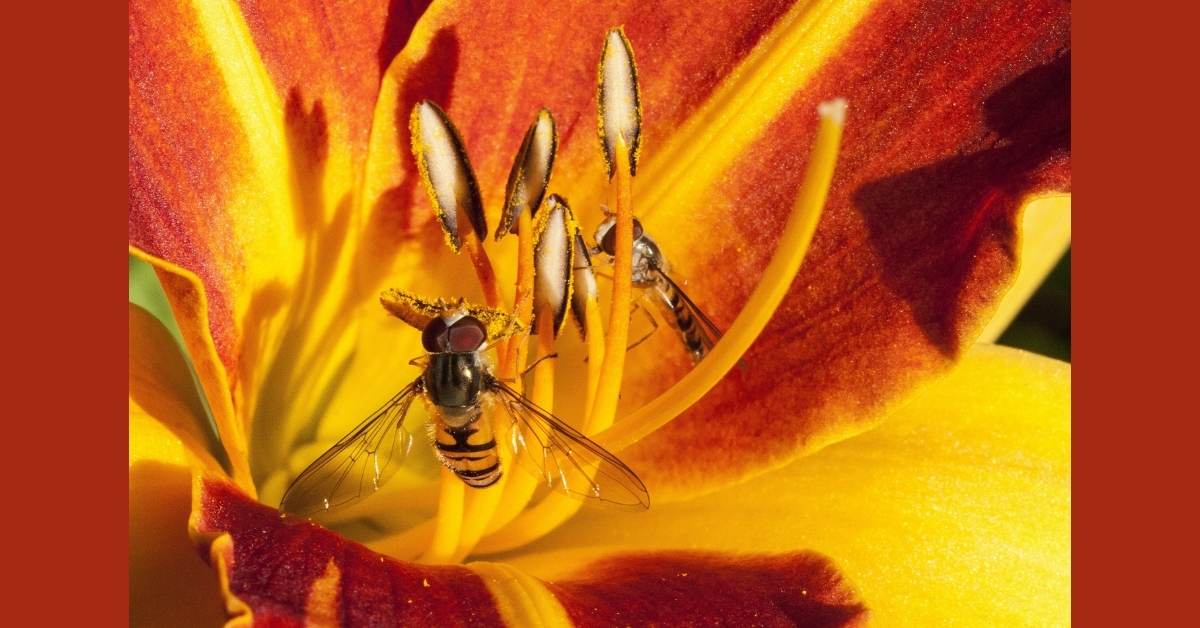
In general, daylilies are bug and disease-free, but there are a few things you have to watch for. Slugs love the early shoots, and you’ll often find chunks missing from the edges of new leaves in the spring.
You’ll also see some streaking and yellowing of the later leaves as slugs work their way up the leaf. Do not confuse this with daylily rust.

Gall midges like the flower buds (you’ll see small white maggots in the bud) and aphids regularly take a chunk or two of the leaf (leaving white flecks on the leaf).
If you have a mild winter, you might see some crown rot in new shoots, and this is primarily because of heaving and thawing and the roots getting disturbed. You can prevent this by mulching the plants in their first year. Once the plants are established, it is rarely a problem.
Daylily Rust
The other problem rearing its head is daylily rust, which creates yellow streaked leaves with rust pustules and will eventually kill the plant.
There is no cure for this at present, although research is ongoing. Garden sanitation is critical, and if your daylily leaves start developing symptoms, the leaves should be cut off and taken out of the garden (no composting).
The American Hemerocallis Society categorizes daylilies into three classes: Evergreen, Semi-evergreen, and Dormant types. Generally, unless you live in a USDA zone 6 gardens, you’ll want to take a pass on the evergreen types, and the semi-evergreens are unreliable in USDA zone 4 to 6.
A year with a poor snow cover or thawing to put a layer of ice over the plant will see death rates rise in the evergreen and semi-evergreen classes.
The Dormant plants are hardy right up to zone 2, and these are the can’t kill ’em type of plant for beginners. There are also leaf color and shape variations in these plants, as well as height differences.
The days of just getting a “daylily” are long over, with nearly 89,000 different varieties registered with the AHS.
In popularity polls taken by the AHS of its members, those in our region cited ‘Strawberry Candy,’ ‘Moonlit Masquerade,’ and ‘Ruby Spider’ as their best performing varieties. The repeat blooming ‘Stella D’Oro’ also is on most folks’ lists as a good performer.
I note that this is one of the few daylilies that has actually died in my garden, and I think some of the newer repeat bloomers are better plants.
In summary, daylilies are one of the backbone plants of the perennial summer garden and belong in every garden.