Garden planning and preparation time is upon us. With the increasing desire for more earth-friendly gardening methods, gardeners do not have to look far for options. Toilet paper tube seed starters are the perfect solution.
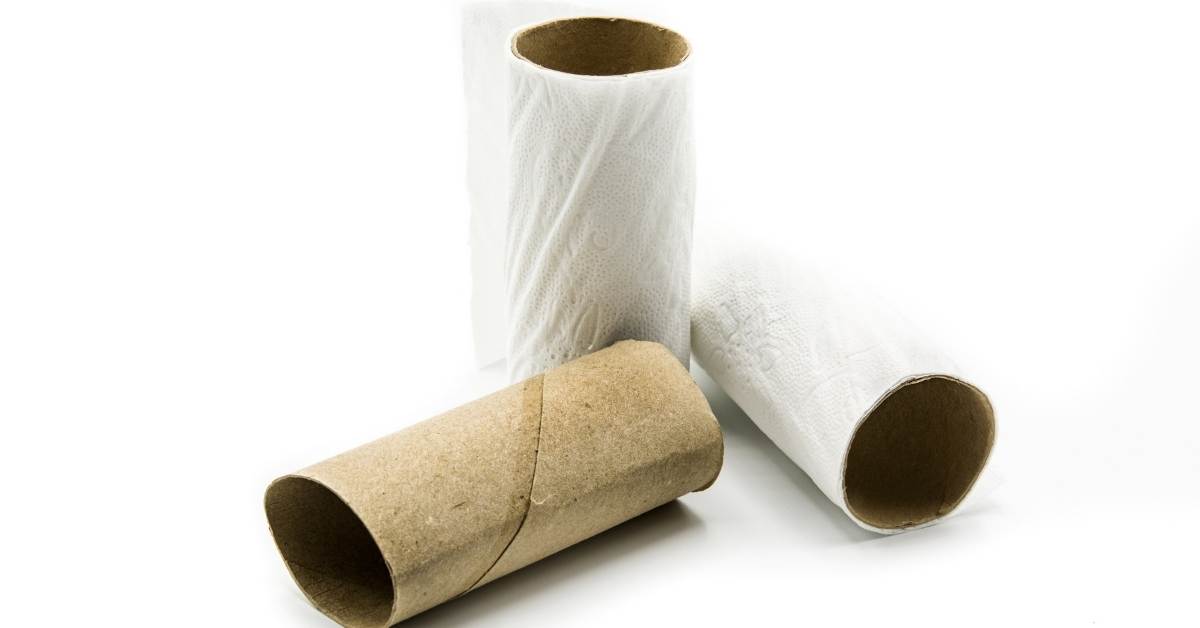
For the frugal, it is not necessary to purchase expensive peat pots to start your seedlings indoors or in your greenhouse. The cardboard tube from the center of a toilet paper roll makes an excellent biodegradable seed starter.
The challenge is to obtain the necessary quantity for your garden. For most backyard or raised bed gardeners, it may only take a couple of dozen. For those needing more significant amounts, consider asking friends to save their tubes for you.
Toilet paper rolls are simple to use and require little or no preparation. They do not take up much space and are excellent for plants that do not like to have roots disturbed when transplanting. Here are some quick, easy steps for creating your toilet paper seed starters:
The supplies needed to prepare your starters are simple and basic. You will need one toilet paper tube for each seed you are starting. Potting soil or seed starting mix is preferred to garden soil. Garden soil is heavy. You want soil that is lighter in order for the roots to establish and the sprout to emerge.
If you choose to cut your tubes to secure the bottom, have a bit of tape to help hold the bottom closed. A waterproof marker and a waterproof tray round out the items you need.
Prepare the Toilet Paper Tube
Option 1 – Cut four slits, roughly one-half inch tall, in the bottom portion of the tube. Fold each section under to close the bottom of the roll. Use a small amount of tape to hold the bottom closed if necessary. You will need to “open” the bottom when it is time to plant. Option 2 – Leave the bottom of the tube option.
1. Mark the tube
If you start different types of seeds, marking each tube close to the top will help you identify the sprouts. This will make it easier when transplanting. If you have children in the house, marking the tubes will help them learn the difference in seedlings as they grow. You may also consider writing the planting date on the tube.
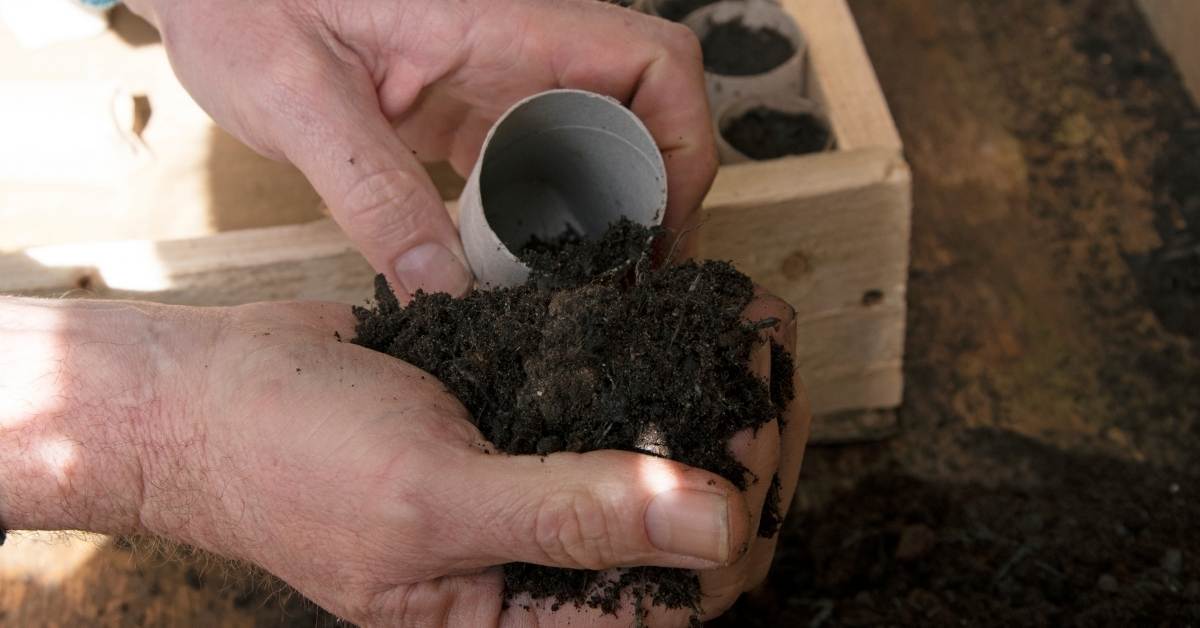
2. Fill the tube
Each tube should be three-quarters full. Lightly dampen the soil. This will help provide the right environment once the seed is planted. Potting soil or seed starter mix is preferred over garden soil for starting seeds. There is a wide range of options when selecting soil.
Mixes that include peat are losing favor. Peat is organic and renewable, but very slowly renewable. More organic mixes are replacing peat with coir, made with coconut husk. Gently pack the soil in the tube. It should be tight enough not to fall out but too tight.
3. Place the tube
The tubes will not hold water. They need to be placed in a tray of some sort. The tray needs to be deep enough to catch any liquid that seeps out after watering. The tray also needs to be wide enough to allow one-quarter to one-half inch space between the tubes. Air needs to circulate around the tubes.
4. Seed the tube
Sew one seed per tube. Most seeds need to be planted three times their thickness. For example, a bean seed that is one-half inch needs to be planted one and one-half to two inches deep.
5. Water the tube
Gently and lightly water each tube. It is not necessary to drown the tube. You simply need it to stay moist. Any time you notice the outside of the tube getting dry, it is time to lightly water again.
Adding water to the tray is the easiest method during the early stages. If you are concerned about chlorine, allow the water to sit at room temperature for at least 24 hours. The chlorine will dissipate. Rainwater is great.
6. Cover the tubes
Gently cover the tubes with a layer of clear plastic wrap. This will create a mini-greenhouse atmosphere for the seeds during germination. If you cannot use plastic wrap, any clear plastic cover will work.
You simply want to keep the soil moist while germination takes place. Once the sprouts are pushing on the plastic, they may be removed.
7. Plant the tubes
Once the danger of frost is past and the plants have their leaves, transplant the entire tube to your garden. The cardboard will decompose over time. Remove the tape and open the bottom of the tube to allow the roots to access the soil easier. The cardboard will eventually break down but, the roots need ready access to the soil.
Starting your seeds in this manner is great for all types of garden and flower seeds. Any seed can be used. It is perfect for plants that do not do well when their roots are disturbed.
Examples include melons, pumpkins, beans, sunflowers, beets, carrots, radishes, and chard.
If you begin to notice mold growing on the tube, there is too much moisture, not enough air circulation. Rearrange the tubes so more air can get around them. Also, consider how much you are watering your seeds. Keep them moist, not soggy.
If you feel the tubes are too big, it is O.K. to cut them in half. Just keep in mind the ratio of seed size to planting depth. You may find the tube unrolling. If so, just a little piece of tape should take care of things until planting time.
You may also use cardboard tubes from paper towel rolls. This method is not just for vegetables. Use it for flower seeds and bulbs or any time you need to protect a very young plant.
If you find the soil falling out of the tube, there is a little trick that will help despite your efforts. Use a spatula, just like the kind you use to flip eggs. When you take your tray out to the garden area or to the back porch for your containers, grab a spatula.
Slide the spatula under the tube as you lift it off the tray. Deposit it in the garden spot. This will prevent or reduce any disturbance of the soil around the plant roots.
Keep Experimenting
Do not be afraid to experiment. Consider using eggshells in the bottom to hold back the soil. The eggshells will break down, plus they provide the nutrients many plants need.
Cut an unbleached coffee filter into a circle about half the tube’s size, place it in the bottom before filling it with soil. Newspaper is another option for holding in the soil; just check to see if the ink is plant-based.
Whether you grow plants in your window, on your porch in containers, with a raised bed, or in a square-foot style garden, your seedlings need the best start you can give them. The toilet paper roll method provides an excellent opportunity to save money, reduce demand for plastics, reuse materials you already have, and help your garden grow.
You can watch the video here to learn how to use toilet paper rolls as seed starters: