Learning to root cuttings is probably a lot easier than you think. I want to show you how simple and inexpensive it is to create your own custom landscape from just a few plants you may already have on your property.
All it costs you is an investment in time, and before you know it, you have increased your property value by thousands of dollars and for next to nothing!
You may not even need to buy any plants to start. After all, most think nothing of letting a neighbor or a polite passerby get a slip or cutting a plant. There are plants all around us, all you need is a small piece, and you are ready to start your first cutting.
Keep reading to learn more on how to root cuttings properly…
My daughters thought this was a pretty cool idea, and we’re eager to help out. This is an excellent activity for children of all ages and makes an inexpensive and safe class project that they can plant!
Rooting Cuttings From Gardenia’s
Gardenias are the easiest to root of any plant that I have ever attempted to propagate, as well as the fastest. Let me show you how easy this is.
I recycled a large plastic cat litter container and a white plastic trash bag. It cost me nothing to do this. You could use a dishpan just as long as you punch a lot of holes in it so that water can drain out.
Since cuttings do not have any roots, there is no reason to bother with any type of fertilizer; it would have just been wasted. You won’t need to fertilize until your cuttings are transplanted. I did not use ANY type of hormone or rooting compound whatsoever. It was going to have to do it on its own or croak.
After cutting away the front panel of the container, I punched in a dozen holes in each side and in the bottom. I filled it halfway with regular old white sand.
I soaked it well with the hose and let it drain for a few minutes.
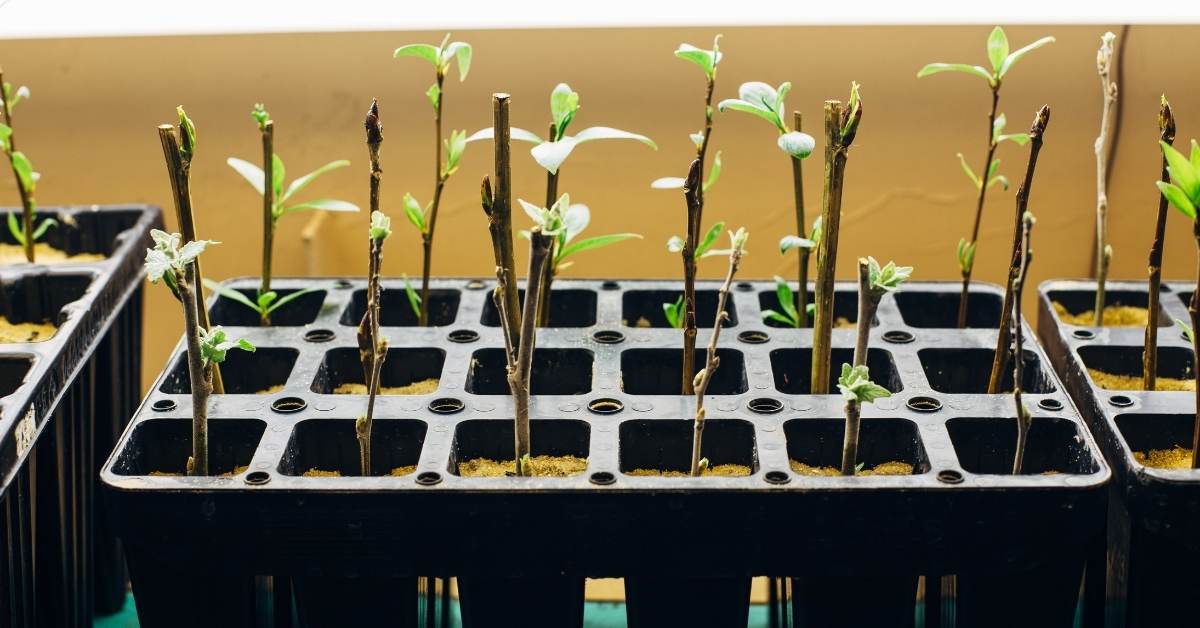
Then I started setting in the new cuttings.
I pushed the sand down around them
and placed the entire container into a white kitchen size trash bag and laid it out in the shade. Keep your container in shaded or indirect light outside. The bag will help to keep moisture and humidity in the bag.
You will need to check it once a week and make sure that the sand is still very moist. Soak it again if you need to; the excess will drain out.
My daughters had a lot of fun doing something like a craft outside with Dad. The water hose was an added benefit in near hundred-degree weather.
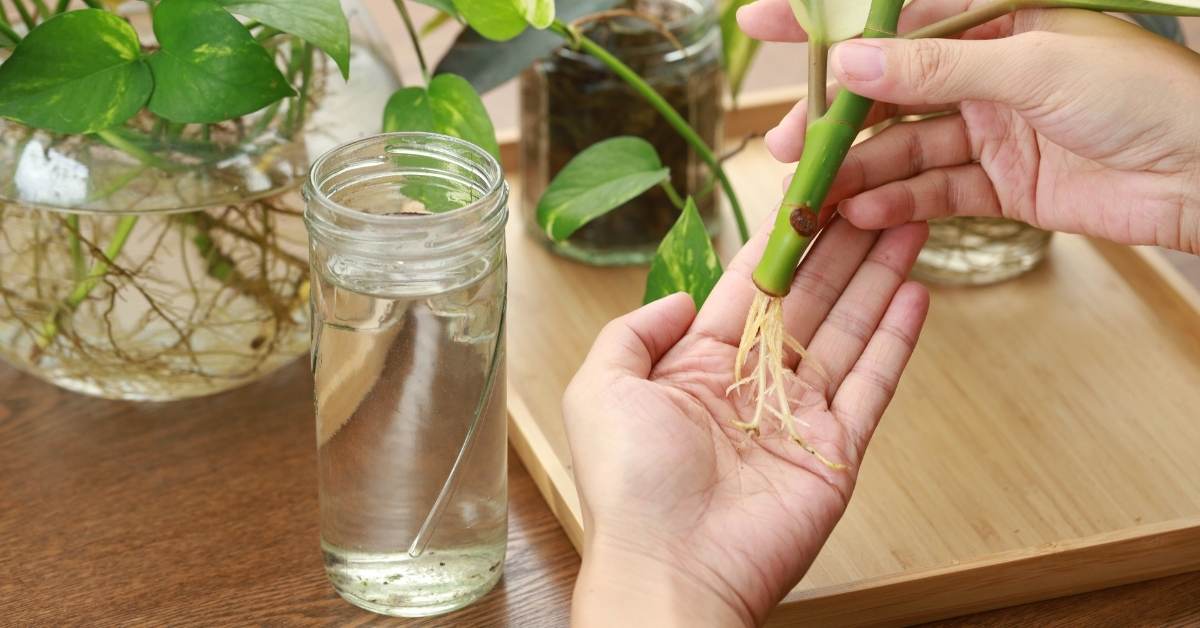
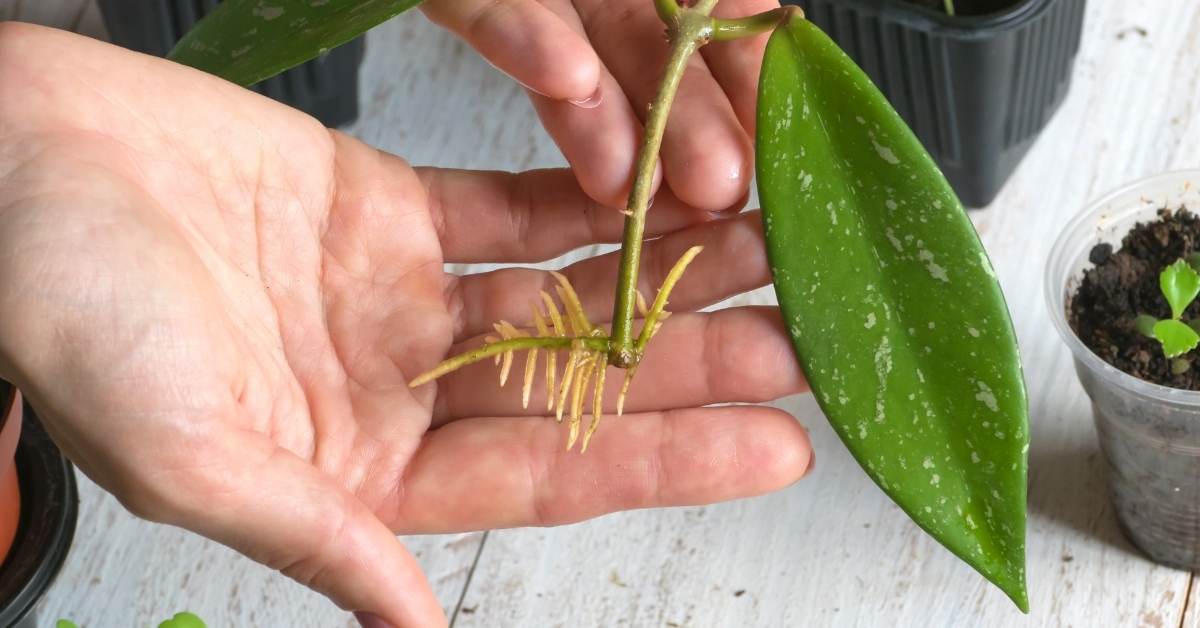
The girls and I had forgotten all about our cuttings until we got home from vacation. I could not wait any longer and couldn’t resist checking some of the cuttings to see how they were doing. I was taken back by the size of the root system that the gardenia had grown in just a matter of weeks!
Start More Cuttings!
So what did I do after the success of my first experiment? I started more root cuttings, of course!
I am going to have an entire wall of beautiful smelling gardenias all the way down my property line! I’ll include a few privets and daylilies for good measure. Some people pay more than $60 for a gardenia in a three-gallon pot! You can have the same plants in only two or three seasons! What does that cost you?
Well, pretty much nothing invested but time. We all understand that time is going by anyway, so why not have something to show for it?
By the time the girls hit middle school, I won’t even be able to see my neighbors house! No one will ever be able to walk through it so that it will be as effective as a fence, and boy, will it smell like Heaven all throughout the summer!
I hope you enjoyed this and that you are encouraged to grow to start something!
Starting a few root cuttings today will provide tomorrow with a beautiful landscape and a great return on your time investment!