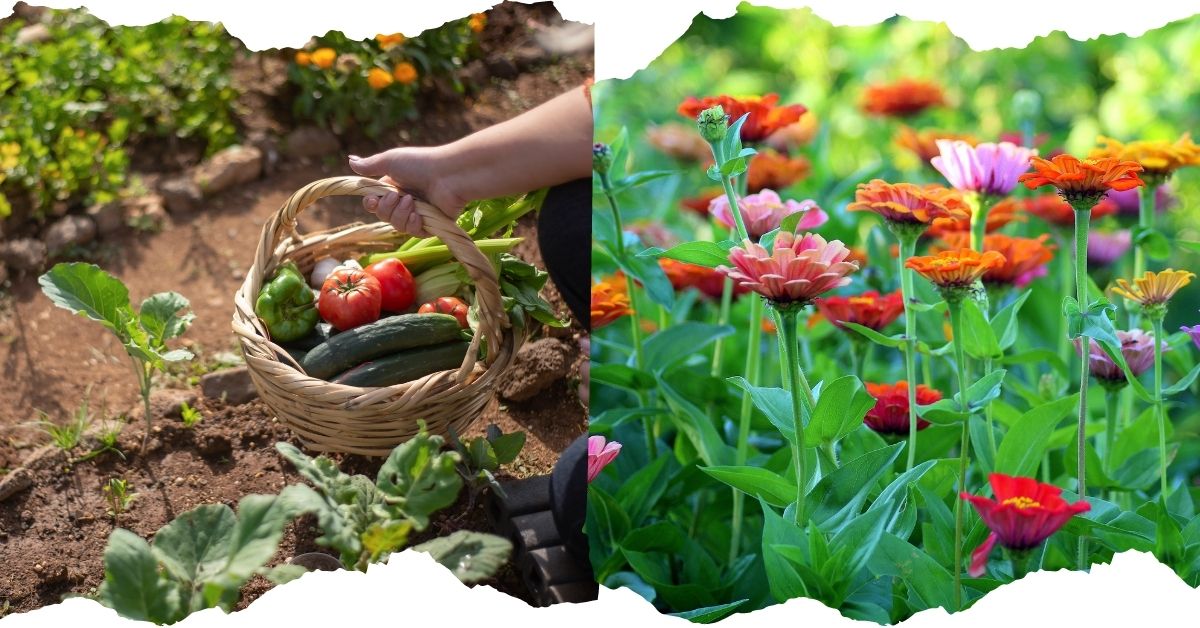
Hey there, fellow pepper enthusiasts! Ever dream of harvesting your own spicy, crunchy jalapeños right from your garden? Well, you’re in luck! Today, we’re diving deep into the exciting journey of growing jalapeños, from the moment you plant those tiny seeds all the way to that satisfying first harvest.
Jalapeños are a superstar in the pepper world for so many reasons. They’ve got that perfect balance of heat that tickles your taste buds without overwhelming them, a satisfying crunch, and they’re surprisingly easy to grow in all sorts of climates.
While we’ll be focusing on container gardening today, the principles we’ll cover apply whether you’re planting in the ground or in raised beds.
The Ultimate Jalapeño Growing Guide
Planting Jalapeño Seeds: The Grand Beginning
The very first step to enjoying your own homegrown jalapeños is, of course, planting the seeds! You’ll need a few essentials to get things rolling:
- Seed Starting Mix: This provides a light, airy medium for your seedlings to establish their roots.
- Seed Starting Cells or Small Pots: These keep your seedlings organized and provide a contained environment for germination.
- Humidity Dome: Crucial for maintaining consistent moisture and warmth, which is key for sprouting.
- Spritzer Bottle: For gently moistening the soil surface.
- Seed Heating Mat (Recommended): Jalapeños love warmth to germinate, and a heating mat provides that consistent temperature.
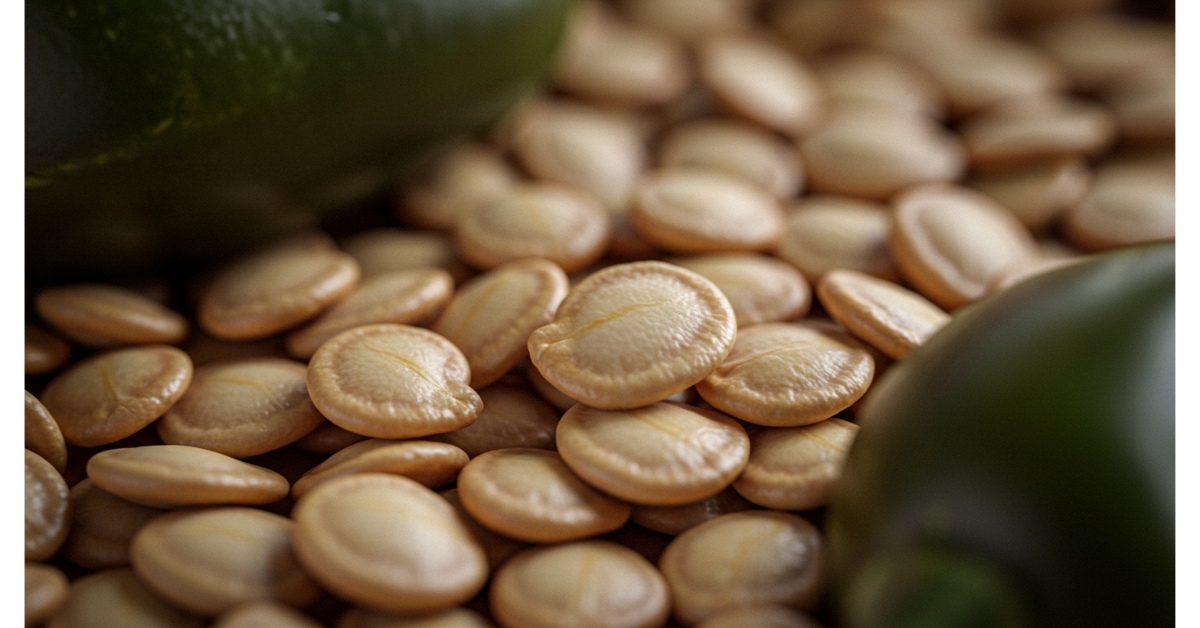
- Your Jalapeño Seeds: Get ready to choose your adventure! There are so many fantastic jalapeño varieties, each with its own unique heat level, plant size, and yield.
When to Plant: Timing is Everything
The best time to start your jalapeño seeds indoors depends heavily on your climate. If you’re in a warmer region, you can start earlier. For those in colder climates, like our Zone 6A here in New England, mid to late March is usually a sweet spot for indoor sowing. If you’re further north, consider starting even earlier to maximize your growing season.
Prepping Your Seed Starting Mix
Before you plant, it’s important to pre-moisten your seed starting mix. Gradually add water and mix thoroughly until it holds together when squeezed but doesn’t drip. It should feel like a damp sponge – moist, but not soggy.
Filling Your Cells
Now, fill your seed starting cells with the moistened mix, pressing gently to fill them to the surface. You can use a finger or a small tool to create a slight indentation.
The Sowing Ritual
This is where the magic begins! We like to plant two seeds per cell to ensure at least one germinates. You can always thin them down to one plant later.
- Label Everything: Seriously, this is vital! Once seeds are in the soil, it’s hard to tell them apart.
- Place Seeds: Gently place your jalapeño seeds onto the surface of the soil.
- Cover Them Up: Carefully push the seeds down about ¼ inch into the soil using a pen cap or your finger.
- Gentle Spritz: Lightly mist the surface of the soil to ensure the seeds are moist and will remain so until they sprout.
- Move Aside: Place planted cells aside to keep track of your progress.
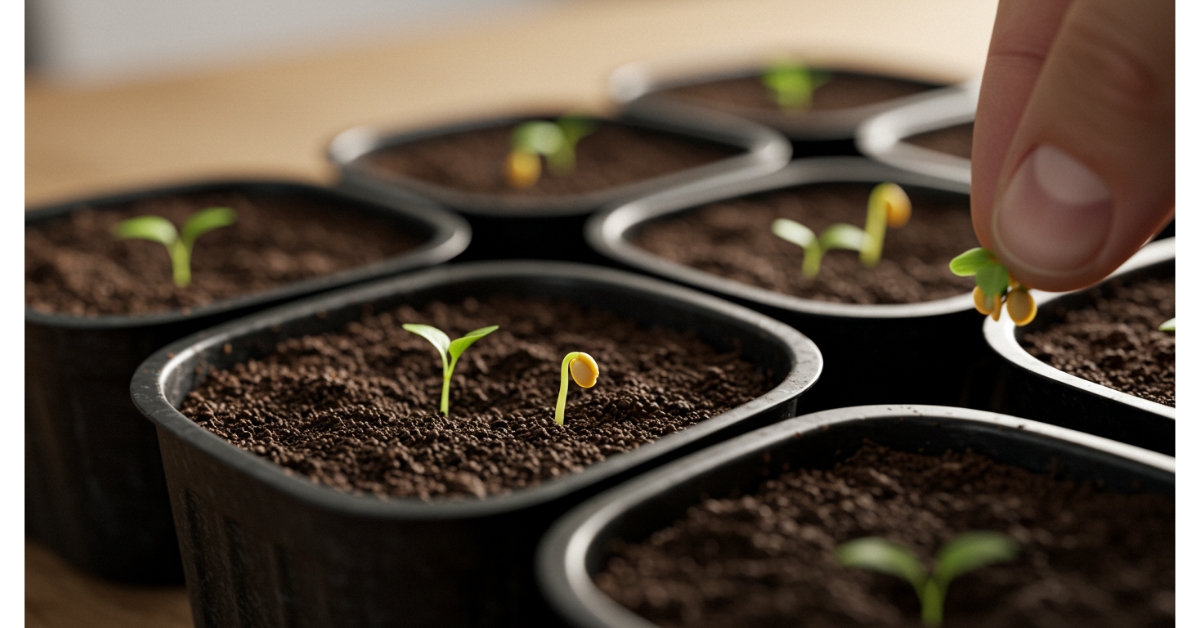
Germination Station: Warmth, Moisture, and Patience!
With your seeds sown, it’s time to create the perfect environment for germination.
The Power of the Humidity Dome
Pop that humidity dome over your seed tray. This traps moisture and warmth, preventing the soil surface from drying out – a critical factor for successful sprouting. If you don’t have a dome, a clear plastic bag or even repurposed food containers can work wonders.
Heating Mat Magic
For optimal germination, we highly recommend a seed heating mat. Place your seed tray on top and insert the temperature probe into one of the cells. Set it to around 80°F (27°C). This mat will keep the soil consistently warm, significantly speeding up germination.
The Waiting Game (It’s Worth It!)
Be patient! Fresh jalapeño seeds typically sprout within 4 to 7 days. Older or improperly stored seeds might take a bit longer. Check your seedlings daily, open the dome to allow for some air circulation, and spritz any cells that look dry. Remember, those tiny seeds need to stay consistently moist.
Under the Grow Lights: Nurturing Young Sprouts
Once you see those first little “hooks” emerging, it’s time to move your seedlings under grow lights.
Transitioning to Light
When about 50% of your seedlings have sprouted, remove them from the humidity dome and turn off the heating mat (it’s only for germination). Place them under your grow lights.
Light, Air, and Water: The Trifecta
- Light: Ensure your seedlings receive ample light.
- Air Circulation: A gentle fan (as shown in the video) is essential. It provides fresh air, helps prevent damping off, and strengthens those delicate stems.
- Bottom Watering: This is our preferred method. Place your seed cells in a tray of water for about 10 minutes, allowing the soil to wick up moisture from the bottom. This prevents damage to fragile seedlings. Water every 3-4 days, or as needed, keeping an eye on soil moisture.
Feeding Your Little Ones
About a week after sprouting, you can start fertilizing. Use a water-soluble fertilizer mixed at half the recommended strength. This will nourish your seedlings until they’re ready for their next move.
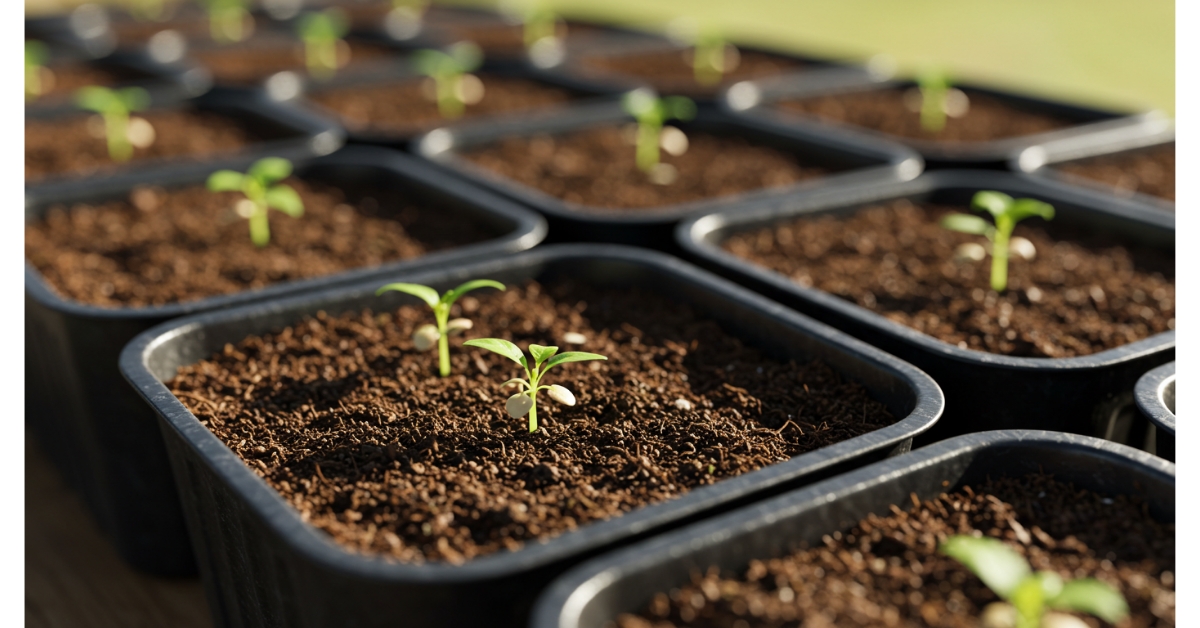
Potting Up: Giving Them Room to Grow
Around 3 weeks after planting, when your seedlings are about 2.5-3 inches tall and have developed their first set of “true leaves” (the ones that look like miniature jalapeño leaves, not the initial seed leaves), it’s time to pot them up.
Thinning for Success
Before transplanting, thin each cell down to the strongest, healthiest seedling. Gently pluck out the weaker one, leaving just one plant per cell to prevent competition.
Moving to Larger Homes
Transplant your chosen seedling into a larger pot (around 3.5 inches square and 5 inches deep is a good size). Gently loosen the root ball, place it in the new pot, backfill with quality potting soil, and water thoroughly. Keep them under the grow lights.
Hardening Off: Preparing for the Great Outdoors
Before your jalapeños face the elements, they need to acclimatize to the outside world – this process is called “hardening off.”
Gradual Exposure
Over a 1-2 week period, gradually increase your plants’ exposure to direct sunlight and outdoor conditions. Start on a cloudy day, and then add 30 minutes to an hour of sun each day. This prevents sunscald and shock to their tender leaves.
Final Planting: Finding Their Forever Home
Once your plants have outgrown their intermediate pots and your nighttime temperatures are consistently above 65°F (18°C), it’s time for their final planting location.
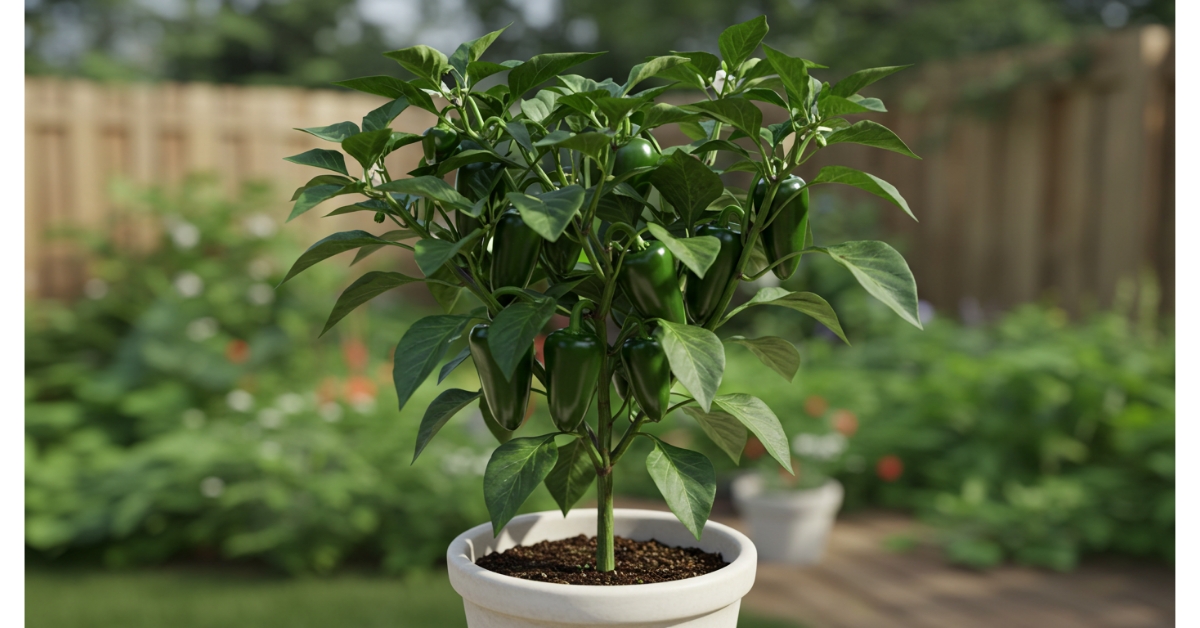
Container Gardening Champions
We love using 5-gallon grow bags for our container-grown jalapeños. Fill your chosen container or raised bed with a good quality potting mix. Gently remove the plant from its pot, loosen the root ball slightly if it’s tightly bound, and plant it at the same depth it was in its previous pot. Backfill with soil and water thoroughly.
Support and Sun
- Support: Add a stake to support your plant, especially if you anticipate strong winds.
- Sunlight: Jalapeños thrive in full sun – aim for at least 6-8 hours of direct sunlight daily. In extremely hot climates, a little afternoon shade can prevent scorching.
Fruiting and Harvesting: The Sweet (and Spicy!) Reward
As your jalapeño plants mature, you’ll see them grow larger, produce more flowers, and eventually, those coveted peppers!
Early Flower Bud Pinching
For the first few weeks after transplanting into their final location, it’s a good idea to pinch off any early flower buds or small peppers. This encourages the plant to focus its energy on growing larger and developing a stronger root system, leading to a more bountiful harvest later on.
Watering and Feeding
- Water Consistently: Keep the soil consistently moist but not waterlogged. Container plants will need watering daily in hot weather.
- Fertilize Regularly: About a month after transplanting, start a regular fertilizing schedule. A water-soluble fertilizer or a slow-release granular option will work well.
Pest Patrol
Keep an eye out for common pests like aphids and caterpillars. Planting companion flowers can attract beneficial insects that help keep these pests in check. Only resort to pesticides or insecticidal soap if the infestation is severe.
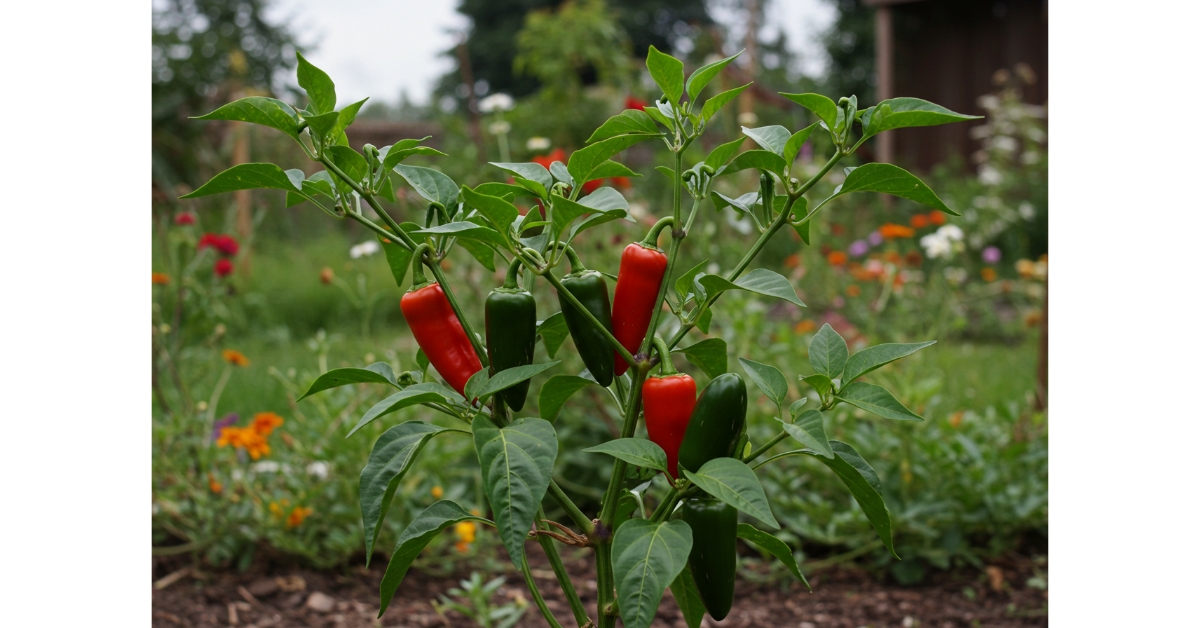
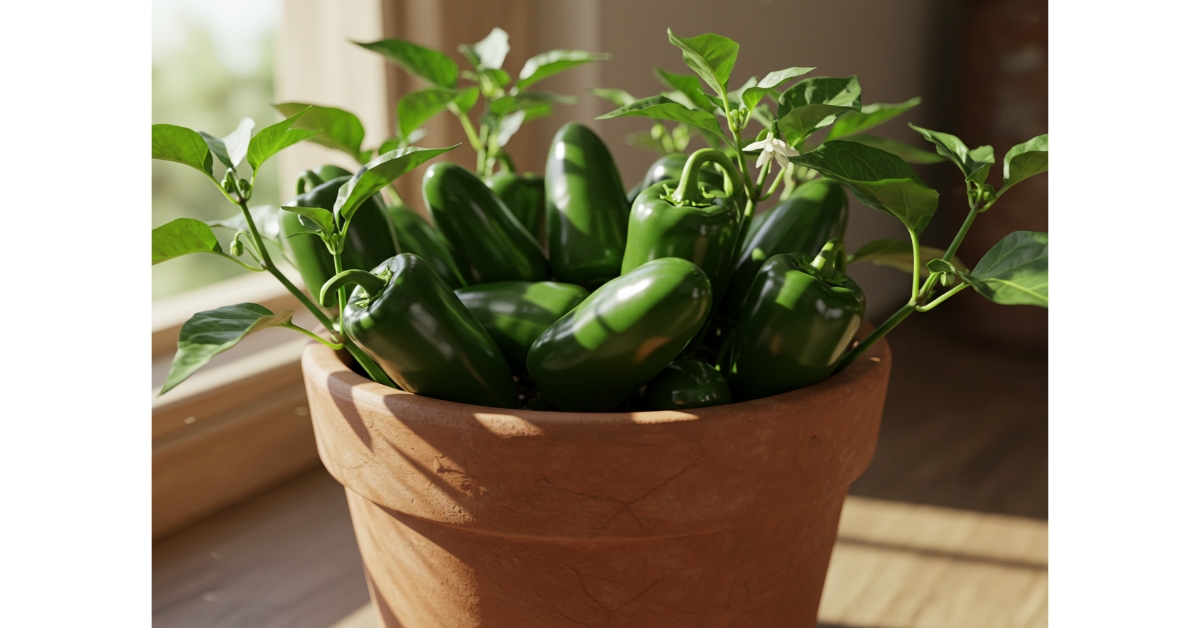
The Joy of Harvest!
When your jalapeños reach a mature size (around 3-4 inches long for many varieties), they’re ready to be picked!
- Flavor: Green jalapeños offer a bright, crisp flavor. As they ripen to red, they become sweeter and hotter. For the spiciest peppers, wait until they are fully red.
- Encourage More Fruit: Harvesting peppers regularly encourages the plant to produce more flowers and, consequently, more peppers.
- Harvesting Technique: Gently pull the pepper upwards; it should snap off easily at the stem.
Jalapeños are incredibly versatile – perfect for poppers, sauces, powders, and so much more!
Conclusion
And there you have it – your complete guide to growing jalapeños from seed to harvest! It’s a rewarding process that fills your garden with vibrant life and your kitchen with delicious, spicy goodness.
For even more in-depth tips and tricks, don’t forget to check out our ebook, “Growing Perfect Peppers,” linked in the description below. It’s packed with everything you need to know to become a pepper-growing pro!
Happy growing, and we’ll see you next time on Pepper Geek!
FAQ
Why are my jalapeño seedlings leggy and weak?
This is a very common problem! Leggy seedlings are often stretching out, searching for more light. The solution is to get them closer to your grow lights or provide a stronger light source. Increasing air circulation with a small fan can also help strengthen their stems.
My jalapeño plant has flowers, but no peppers are growing. What’s wrong?
Flower drop is a natural occurrence, especially in response to environmental stress. The most common reasons are high temperatures (above 90°F / 32°C), too little or too much water, and lack of pollination. During very hot weather, peppers often drop their flowers as a survival mechanism. Ensure you’re watering consistently, and if growing indoors, you might need to manually pollinate by gently shaking the plant or using a small brush to transfer pollen between flowers.
When should I fertilize my jalapeño plants, and what kind of fertilizer should I use?
When your plants are seedlings, you can start with a half-strength water-soluble fertilizer about a week after they sprout. Once you’ve transplanted them into their final pots or the ground, you can wait about a month to allow their roots to search for nutrients. After that, you can fertilize on a regular schedule using a balanced vegetable fertilizer. You can choose a water-soluble option for more frequent feeding or a slow-release granular fertilizer that lasts for a longer period.
My jalapeño peppers are turning red. Are they still good to eat?
Absolutely! The color change from green to red indicates that the pepper is fully ripe. Red jalapeños have a sweeter flavor and are typically much hotter than their green counterparts. Picking them when they’re red also allows the seeds inside to fully mature. You can use them just like green jalapeños in any recipe, but be prepared for an extra kick of heat!
How do I know when it’s the right time to harvest my green jalapeños?
The best time to harvest green jalapeños is after they have reached a full, mature size for their variety. You don’t want to pick them while they are still actively growing larger, as they can be bitter and lack flavor. You can tell they are ready when the skin is firm, glossy, and the pepper feels heavy for its size. A good sign is also when you notice tiny, dark cracks, or “corking,” on the skin. These are signs of a mature and flavorful pepper!