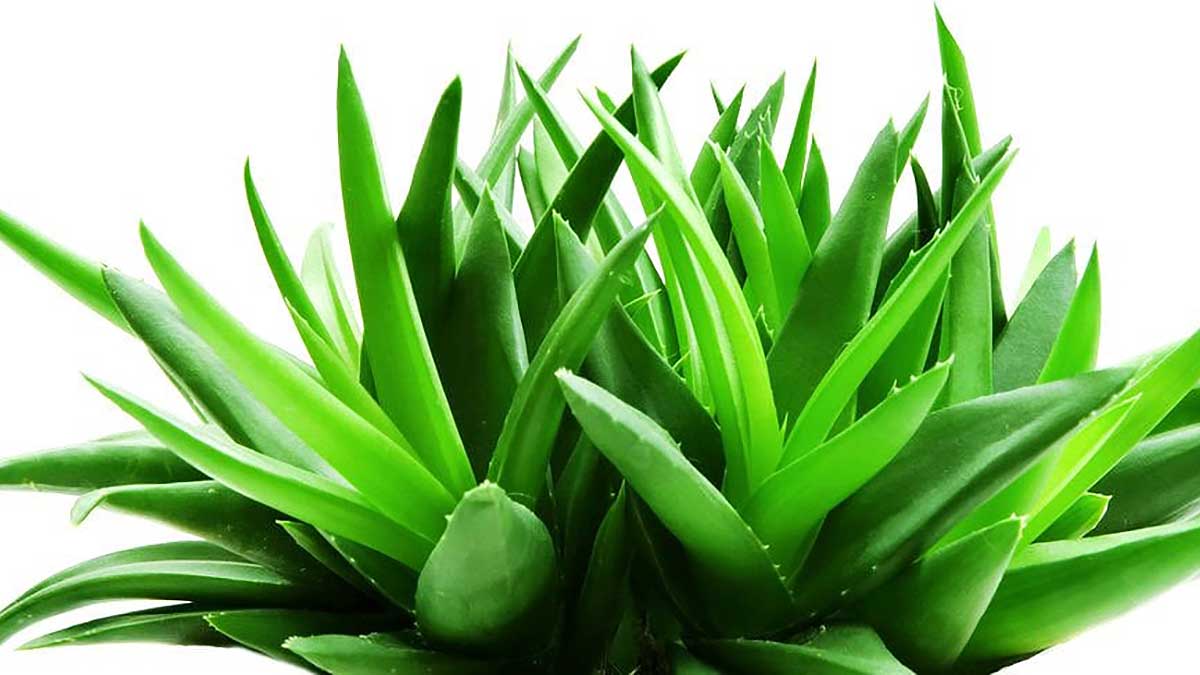
It might be beneficial to know this guide to start growing the Aloe Vera plant at home in your backyard to take advantage of this miracle plant anytime. Aloe vera is a fascinating plant that belongs to the cacti family. Starting to grow Aloe Vera at home is very simple as well.
This drought-resistant plant has spines on both sides of its long leaves and saves water in these leaves for later use when it rains.
Uses of Aloe Vera
Aloe Vera has a variety of medicinal applications and may be prepared in various ways for consumption. It has also been around for hundreds of years, if not thousands. Because of the slime that oozes out of its leaves when damaged or chopped off, this green and the easy-to-grow plant has been likened to a snail.
You might also like this: Fast-growing vegetables for your garden
Fun fact: This plant has laxative properties, and it is even utilized in certain laxatives. It is not recommended to eat it as a regular meal or on a daily basis. Shortly you don’t want to die because of too much laxative compound in your system. Here’s how we will be covering our topics for each herb:
- Growth/Care,
- Medical Use
- Cooking
Guide to start growing Aloe Vera plant | Seeds vs. Pups
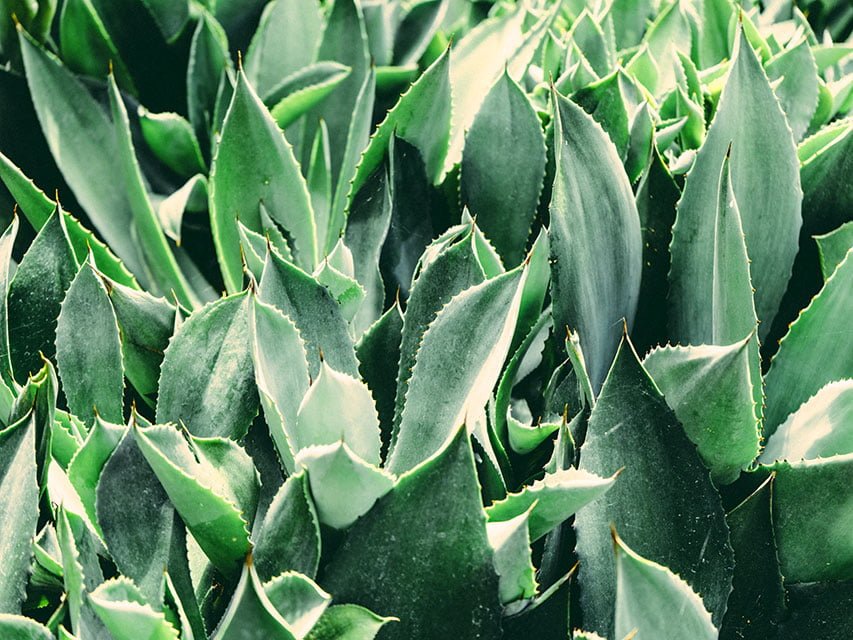
This healthy plant can be purchased in seed form or as already started from a store. You cannot begin to this plant by cutting like other plants. You can transplant sprigs called “Aloe Vera pups,” which will be covered belove shortly.
For planting Aloe Vera, make sure the soil is a loose sandy type that drains water well. You don’t want water to collect around the plant’s roots or base. It will be drowned, and your plant may perish as a result. It should only be watered when the soil seems dry to the touch.
You may also check the soil’s moisture level by measuring down up to 3 inches to see if it’s too dry.
Give this baby a lot of sunlight. Plant it outdoors in a bright spot or inside in a container near a window that receives direct sunlight for most of the day.
Essential points to consider while your Aloe Vera grows to ensure its health.
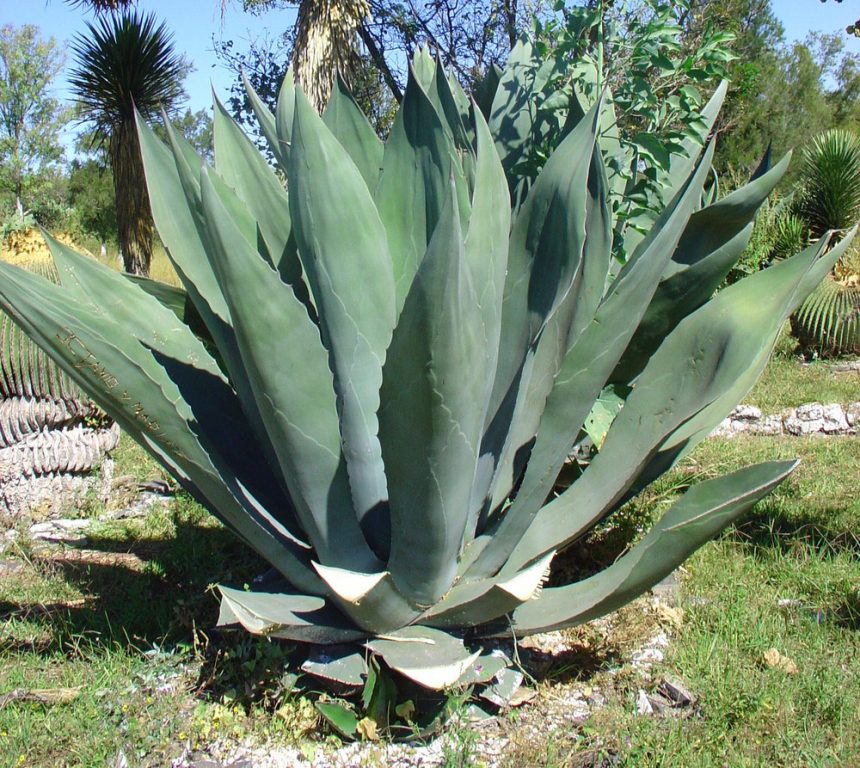
Make sure you shift your leaves to the sun as they begin to flatten and lean. The leaves are usually more erect and seem to be reaching for the sky, with a bit of bend owing to how long they may grow to be when fully mature.
When the leaves begin to turn brown instead of green, it’s time to provide some shade. You don’t want your plant to go up in flames. It enjoys the sun, but, like people, it has a limit to how much it can tolerate before it begins to burn.
If your leaves are getting thinner and curling upon themselves, then you should water them. When it uses up its stored water reserves, the leaves lose their full plumpness and curl up like dried-out paper. Give extra water in moderation.
Finally, if you see that your leaves are becoming yellow and some of the solid leaves are breaking apart, you should stop watering for a few days or longer. Even plants can only hold so much water before being flooded. Simply allow it some time without water and, after the plant begins to look healthier, make sure the soil is arid before watering it again. Remove any leftover yellow portions.
How to Care Aloe Vera Plant:
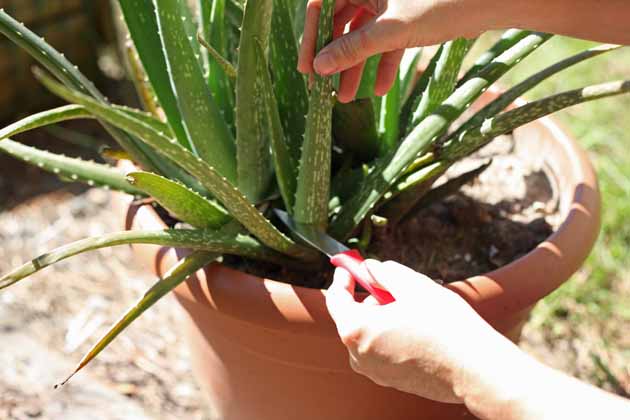
As I explained how to care and grow it, I will explain how to grow and transplant more Aloe Vera in this care part. A “pup” is the name for an Aloe Vera sprout. You can only gain pups by letting the root system reproduce in its pot.
When the roots run out of places to go, they will begin to produce pups, which will appear as little green sprouts surrounding the mother plant. Wait until the puppies are about 3 inches tall. When the dirt is approximately 3 inches away from the puppy, start pushing it out with a sanitized knife.
There are two types of root structure you’ll possibly find:
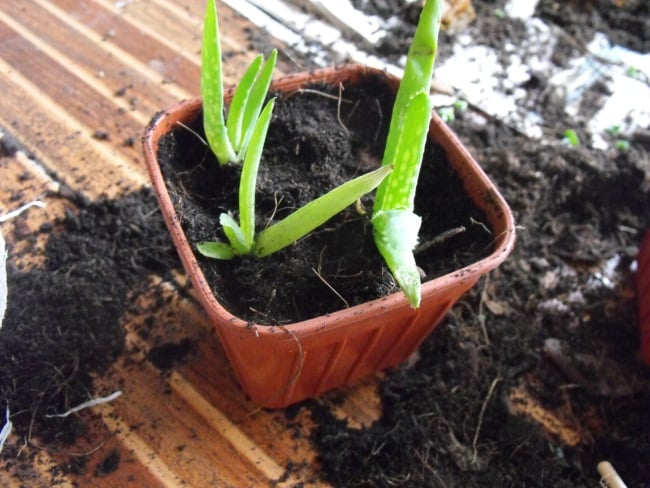
- The pup has its own root system, independent from the mother plant. In this case, you’ll need to separate them carefully for transplanting into its own pot.
- The pup has no root system and is attached to the mother plant, in which case you’ll need to cut it off carefully.
If the pup has no roots, you’ll need to put it out and let it dry for a few days after removing it from the mother plant. This enables it to recover from its damage. Once it is healed, it should look like a callus.
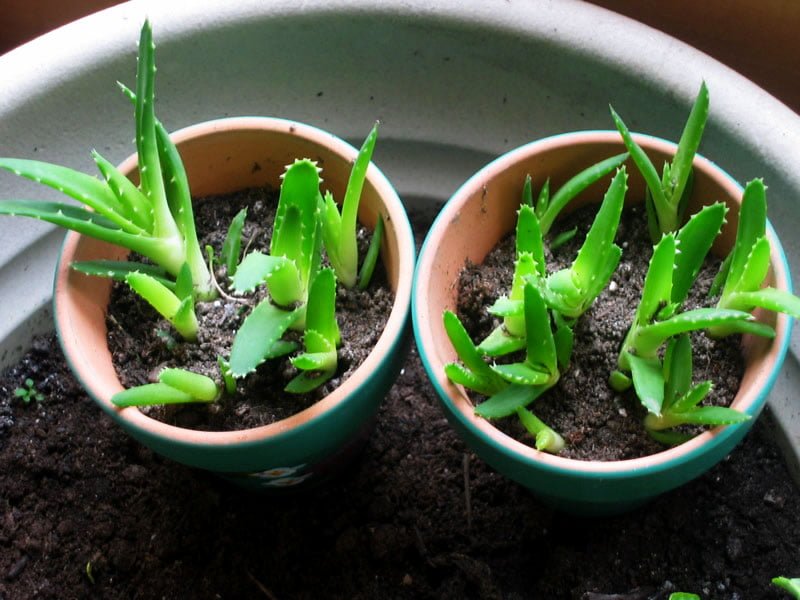
You may then put the pup in its container with tiny stones around the base after it has developed calluses. This will keep it afloat as it establishes its roots. Make sure you don’t bury any of the pup’s leaves when you put them in its own container in any scenario. If you bury the leaves, you’ll have some decaying and a dying Vera before it has an opportunity to develop nice and large.
For the first several days or at least a week, don’t water the puppies. It will have enough water to last for a long time. You risk drowning it if you water it too soon. Allow it to adapt to its new surroundings before watering it gently. Allow enough sunshine to reach Vera while she is still a baby.
As it receives more sunlight, keep an eye out for any indications of discomfort. So now that we’ve finished with Growth/Care let’s move on to the next part!
Medical Use of Aloe Vera Plant
Aloe Vera may be used to cure a variety of ailments by applying it straight to the skin. All you have to do is cut off a piece of the leaf and utilize the slimy slime that it naturally generates. The following are some of the problems that can be addressed by applying this goo to the afflicted area:
Burns that are minor to moderate. The plant cannot and should not be used to treat severe burns, such as third-degree burns. Some individuals may benefit from it if they have second-degree burns.
Insect bites are inconvenient because they itch, and the slime from Vera’s intestines may occasionally help. Now, this will not always work, and if the itch worsens or spreads, you should seek expert medical assistance, particularly if you have tried other medications to relieve the itch without success.
If the wound is mild or small enough, rubbing Vera’s slime over it may help it heal faster. If you have a rash or inflammation on your skin, just massage it with the broken open end of the Vera for relief.
There are also certain medicines available in stores that include Aloe Vera extracts. An excellent example is the laxative pills, which include one of its components. A little aside before I go into the cooking, I heard somewhere that consuming Vera by mouth,
I assume in its raw state, may cause some cancers to grow. There weren’t any cancers listed, but the article writer said there wasn’t enough evidence to confirm this but was a cautionary observation in the few reported cases and studied.
Cooking Aloe Vera:
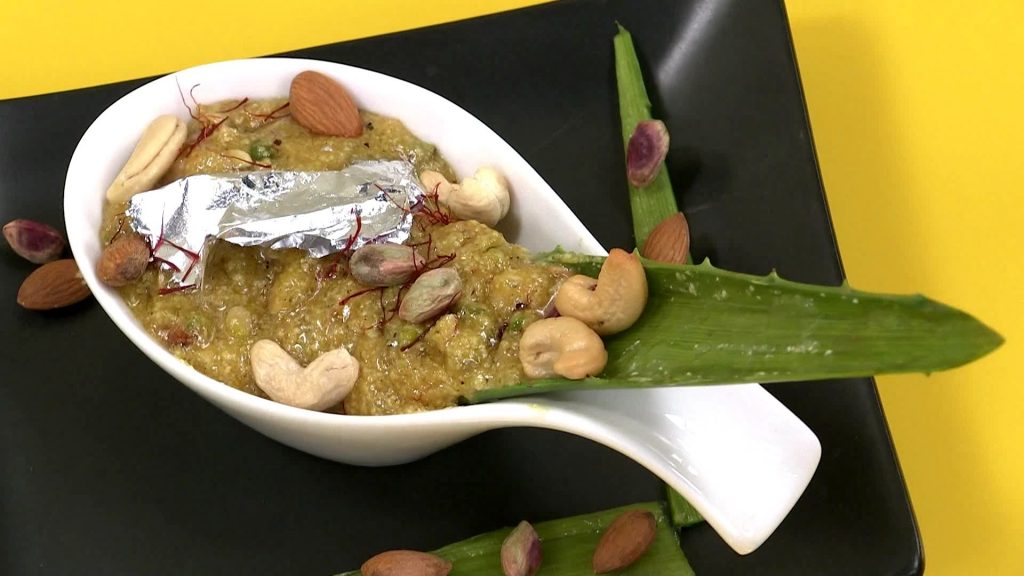
Others have characterized this plant as bland, while others have described it as bitter. It all depends on how you prepare it and in what manner. Only the flesh within is edible, not the skin. Before you begin preparing to consume this, which is not advised for long-term use, you must first verify that you have a safe product.
That is if you use it fresh off the leaf rather than purchasing it already prepared and ready to cook.
Step 1:
Take a whole leaf from the base of your plant and pick or cut it off. The plant will be OK and will, I think, self-heal.
Step 2:
To begin the preparation, wash the leaf by washing it before cutting it.
Step 3:
You may either dab it dry or slice off the bottom by placing it on a cutting board or cutting surface. This eliminates the white and allows the slime to escape. You must also remove the top.
Step 4:
You’ll be receiving a lot of slimes at this point, so place the leaf in a bowl, pitcher, or other containers to collect the ooze. You don’t want to consume the slime since it’s both healing and laxative. Simply drain the newly plucked and chopped leaf for a few hours or overnight, switching containers to catch the goo.
Step 5:
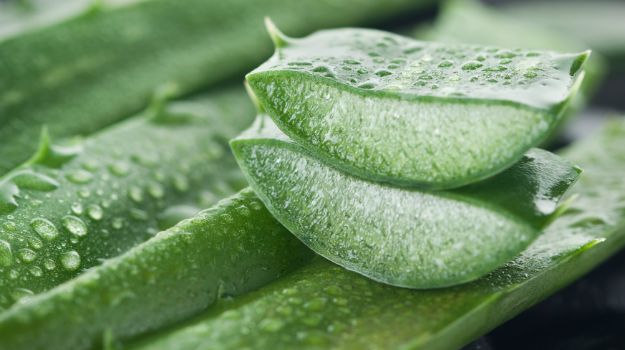
Pull it out of the slime after it’s drained, rinse it again, or simply put it straight on the chopping board/cutting surface. It’ll be slippery, so take caution while separating the skin from the transparent, gel-like flesh using the back of a clean knife or a clean spoon.
Step 6:
Simply slip the knife or spoon between the gel and the top skin and then through the material. You may encounter resistance, but keep pressing while attempting to get as near to the skin as possible in order to obtain as much flesh as possible.
Step 7:
To release the meat, either remove the top skin, turn it over, or hold onto the slimy surface and slide the knife or spoon between the bottom and the gel.
Step 8:
Because of the slime, you may rinse it again if you want, but the leftover slime is safer than the slime you drained out before. After that, all you have to do is cut it into one-inch cubes, and your preparation is complete!
Once you’ve completed your trials and are ready to go, you may utilize your freshly cubed Aloe for a variety of purposes, not too many, but enough to satisfy you.
Also, don’t throw out the goo you just drained. Just place it in a freezer bag and freeze it completely. Later on, you’ll be able to utilize it as an ice pack. In addition, if you are hurt, you’ll be able to apply it to the damage. However, only do so once it has thawed. Nobody wants to suffer from frostbite or freezer burn.
Aloe Vera Smoothies!
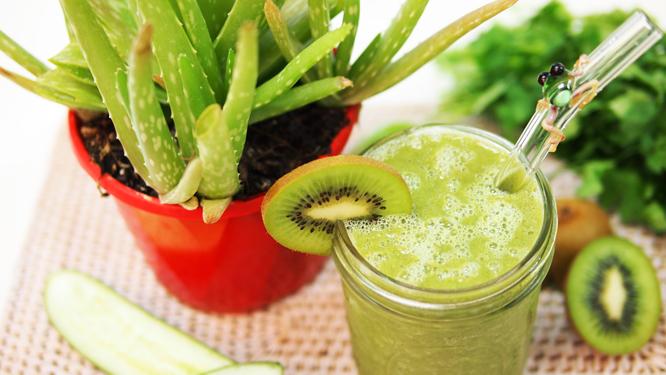
- Vera cubes may be added to your smoothies. Simply combine ice, Aloe Vera, milk, and any additional vegetables you want for flavor. After that, just mix and serve.
- Yogurt topping: You can lightly cook the Vera for 30 minutes and place the cooked meat on top of your favorite yogurt.
- Toppings to almost any dish: You can add the Vera to soups and other dishes by adding the cubes to your cooking meal when there are 30 minutes left.
Just a reminder: if you eat Aloe Vera, don’t do it too often, or you’ll regret it later.
