The present trend in Gabion walls may be unfamiliar to those unfamiliar with “all-things-landscaping.” We had seen many used as retaining walls on a trip around our great country long before we associated them with the term “Gabion” – so you may be in the same boat!
If you’re still looking at this page blankly wondering what the heck I’m talking about, then check out Catherine Stewart’s blog post on How to build a Gabion wall. It should remove all confusion.
But this post isn’t about Gabion walls – it’s all about building your very own Gabion fire pit.
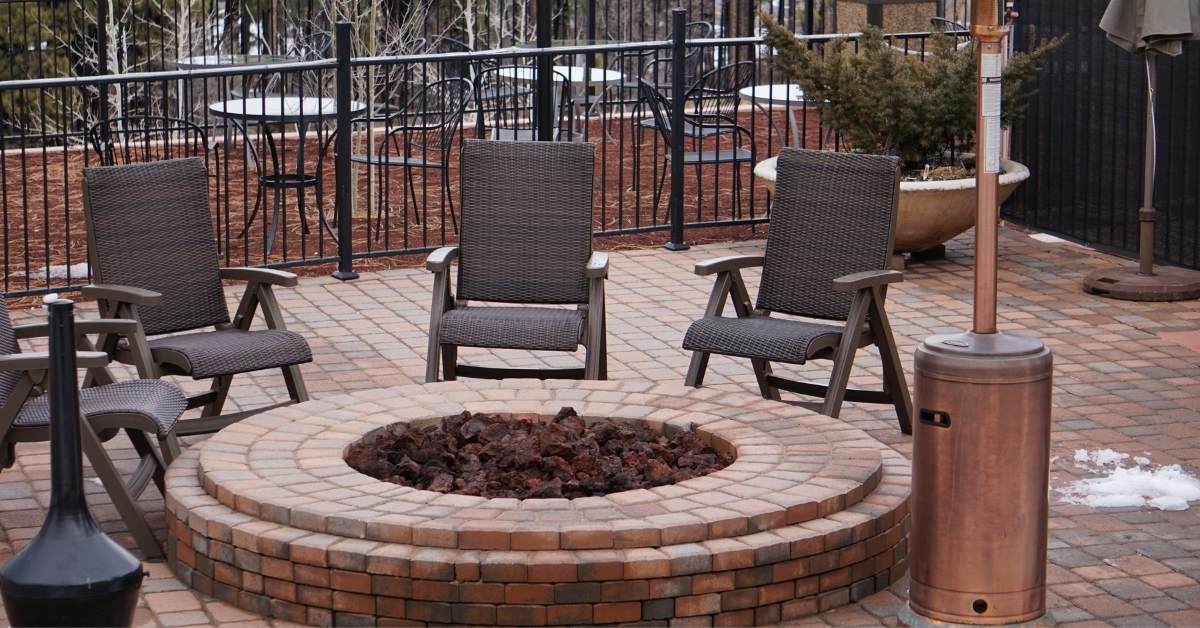
How to Build a Gabion Fire Pit
Initially, this wasn’t our intention. We had decided to include a fire pit somewhere in our backyard landscape, but the What? How? and Where? was undecided. We toyed with the idea of sitting a generic pre-cast fire pit atop of the paving but felt that was a little boring.
Then we considered constructing a concrete round that would encircle a fire pit, but the experience of these has shown us that they’re prone to cracking and, over time, look quite ugly.
A third option was to have a metal ring welded together to act as a barrier for a fire pit. However, the hazards that these pose for toddlers ruled it out as a viable thought instantly.
Finally, our inspiration for Gabions (developed from the word ‘gabbionne’ meaning “to cage”) led us to think – quite literally – outside the box. Most Gabion walls are square or rectangular containers filled with rocks and stones.
Until now, we had never seen around Gabion – let alone a Gabion fire pit. But it made perfect sense.
Benefits of a Gabion Fire Pit
- It will never crack, so it should look the same 20 years from now as it does today
- The pockets between the rocks allow airflow so the wall height can be as high as you like
- Because of these pockets, the outer wall never heats up
- The use of any brick/rock material is only limited by your imagination.
- If you build it well from the start, you can use your Gabion fire pit as a winter soak allowing excess rainwater to drain off your paving and into the unused fire pit.
How Did We Build Our Gabion Fire Pit
Step One
Determine where the center point of your firepit will be and drive a pole into position. Tie a piece of string line around the post and some form of marker (we used crayon for our pavers) to the other end. Mark the outer circle to your preferred dimensions. We made ours a little bigger than our intended fire pit to aid rain run-off in the winter.
Step Two
Hire, or buy, an angle grinder that can accommodate the depth of your pavers. In a circular motion, begin cutting around the circumference of your circle. Remove your paving cut-offs and cement the edges so they don’t move over time.
Step Three
[DISCLAIMER: Step Three was our final step, but we realized we could have made it much nicer by completing this step first.] Source a sheet of galvanized wire larger than your outer dimensions and mark a circle that fits your outer and inner lines.
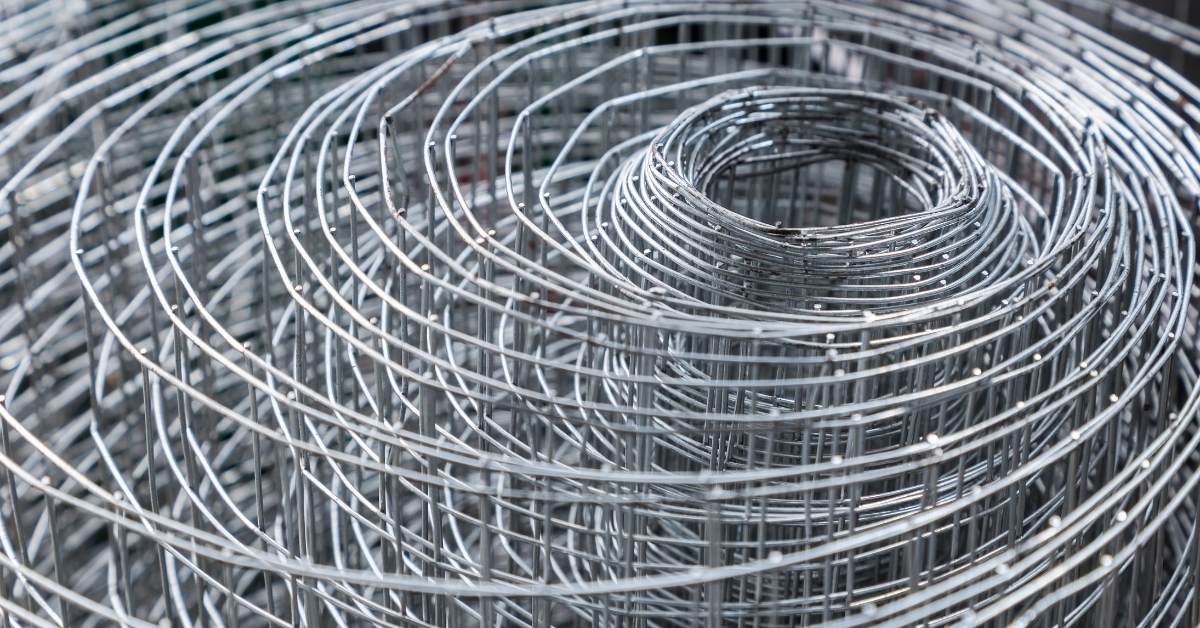
Cut this with a metal angle grinder. If you can weld, source some metal wire with the same thickness as your sheet and then run a bead of this wire around both the inner and outer circles. This will become your top piece and will make the process of tying it down much more straightforward and neater than what we did.
You might want to read this: Miami Landscaping: 4 Beginner Mistakes To Avoid
Step Four
Use the circle you made at Step 3 to mark out the dimensions for your fire pit. On the inside of both circles, drive some thick reinforcing bar into the ground. (TIP: At least half the height of these bars should be in the ground – i.e., if you want 400mm above ground as the height of your gabion fire pit, then ensure that you use 600mm bars).
The more you use, the neater your circle will remain. You can position them representing clock timeslots if this helps.
Step Five
To build the sides, measure the radius of the outer circle and compute the circumference using this calculator. Then do the same for the inner circle. Now you need to cut some galvanized wire to your preferred height (we chose 400mm) and to the length of your circumferences.
You should have two pieces – one for the outer circle and one for the inner. (TIP: Cut these a little longer than the circumference distance so that they overlap by at least one grid. It will make it more rigid and easier to shape).
Step Six
The final step of the wire construction is to tie off the galvanized wire circles to the reinforcing bar. Plan to tie off the wire at 100mm intervals to give more rigidity.
Step Seven
With the walls constructed, it’s quite an easy process to start filling them. Our preferred choice of material was broken brick seconds, but you can use any brick/stone/rock material. Start packing from the bottom and work your way up to limit movement between the material.
Step Eight
The final step in producing your Gabion fire pit is to place the cover (created at Step Three) over your construction. This provides the whole structure with rigidity.
If you leave the cover off, it’s quite possible that your fire pit will continue to move as people press their legs against them while enjoying a fire pit party.
And there you have it… Your very own Gabion fire pit. It’s time to sit back with a few cold ones and enjoy glamping with all the mod-cons.
Watch the video to learn about a different approach to fire pit building.
You might want to see this: 10 Best Pet-Friendly Gardening Tips