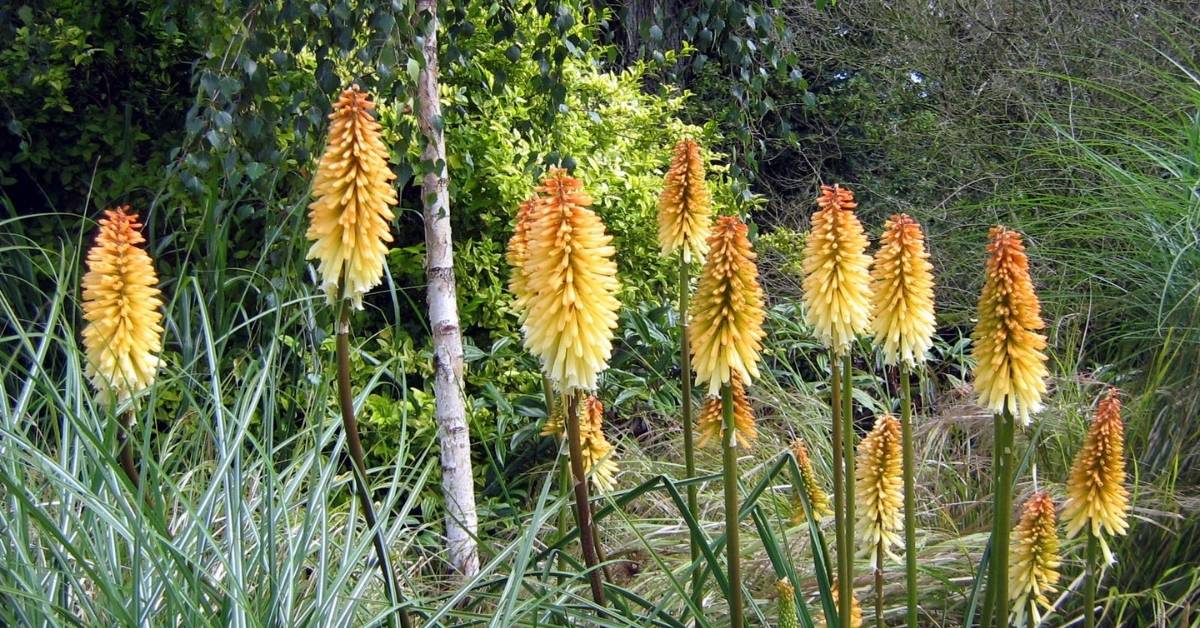
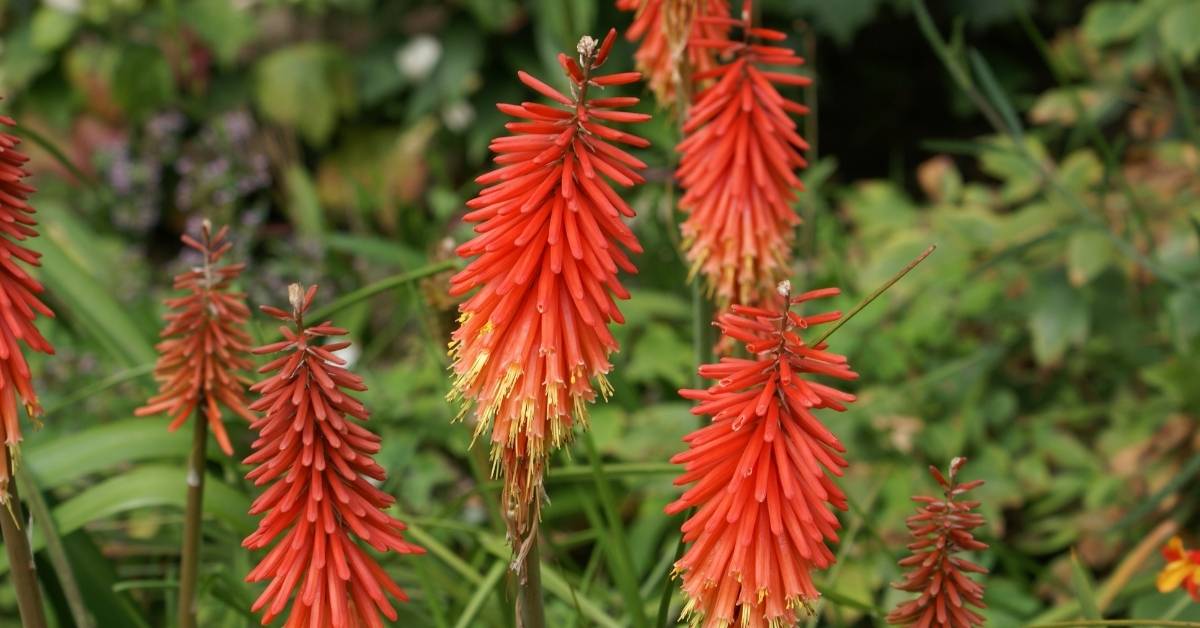
Flower spikes of Kniphofia thomsonii var. snowdenii (red-hot pokers) are typically crowded with flowers and vivid in coloring. Flower spikes of Snowden’s poker (Snowden’s red hot poker) are strikingly airy, with an inch or so blossom to blossom.
Seen closer, the blossoms only become more interesting.
First, their apricot is just on the top of the central portion of the tube: the base and tip are yellow, as is the underside.
Second, the blossoms are arrayed with, so to speak, random alternateness: There may be a whorl of three, then a pair, then a singleton. Overall, the look is of both grace and space.
Kniphofia thomsonii var. snowdenii is hardy only into Zone 7, so, alas, it would be a risk in my garden. (I purchased my pair from a nursery in Virginia—since closed, alas—where it was fully hardy.) Plants are accessible year-round when growing permanently in two or three-gallon containers:
Water as needed when they are outside in the garden Spring into Fall, and allow a fair amount of dryness all Winter, especially if you overwinter in cool but frost-free shelter as I do.
Kept out of frost year-round, Snowden’s poker is an irregular delight—even, as below, treating greenhouse visitors in December.
Here’s How to Grow Kniphofia thomsonii var. snowdenii – this extraordinary Summer beauty:
What kind of plant is Snowden’s Poker?
Kniphofia thomsonii var. snowdenii is a evergreen / semi-evergreen perennial.
What’s the hardiness of this plant?
Zones 6 – 9
Texture
The foliage is very similar to that of daylilies, in the density of the clump, the color of green, and the narrow but flexible sword-like shape of the leaves. Out of bloom, then, this perennial is unremarkable.
Grown for
The characteristic torch-lily flowers, with their unique tightly-packed heads of narrow, drooping, tubular flowers. The flowers of Kniphofia are uncharacteristically tasteful, being a uniform chilly yellow from top to bottom.
At the upper limits of hardiness, the thrill of having any kniphofia at all thriving in your garden.
The flowers’ intense appeal to hummingbirds.
Flowering season
High Summer: August in Rhode Island. There can be some reblooming, and in a milder climate where the clump can get a month or two of an earlier start, reblooming would be enthusiastic.
Culture
Kniphofias demand absolutely full sun, especially in the colder reaches of their hardiness. (They thrive in full sun throughout their range, but in the warmer half of their range would tolerate some shade and still bloom.)
Where hardiness is a challenge, kniphofias usually fail not so much from the cold itself but from less-than-stunning Winter drainage of their planting beds, as well as “drainage” of Winter precipitation out of the evergreen rosettes of leaves.
How to handle it
Plant in full sun and, especially at the cold end of their hardiness, on sloping ground so that Winter wetness is always “moving through” instead of hanging around. At all costs, avoid low spots or flat spots where Winter wetness could settle. Leaner and sandier soils would also help, even with the trade-off that many kniphofias enjoy richer and even moist soil when active in the warm months.
Getting Kniphofias Through The Winter
Kniphofia foliage is normally evergreen, and many cultivars only reluctantly “go deciduous” even when the weather is severe. Because the tight vertical rosettes of spear-like leaves are, alas, perfect for funneling cold Winter water right down into the heart of the plant, consider my tactics below for shielding the colony.
On a cold but dry and sunny day in Fall, after there have been a few killing touches of frost and the kniphofia is, therefore, reasonably dormant (although it will usually still be fully evergreen), assemble your Kniphofia Survival Kit:
- A piece of cardboard—disassemble the seams of a big cardboard box so you have a sheet—that can be tented along one of its seams to form a gently sloping “roof” over the whole colony. You’ll probably need a piece a minimum of two feet by three feet.
- Bag of big “nugget” bark mulch. The really clunky tacky stuff that you wouldn’t dream of using for real in your garden.
- A bag or even two of normal-size mulch that you won’t be embarrassed to have on your garden beds in general.
- A yard or two of twine. The brown “butcher” twine is fine. It only has to last through the Winter.
Kneel down before your clump; you’ll probably want to have one knee on either side of it. Lean over and gather all of the foliage together as if you were going to tie the clump into a ponytail—which, in fact, is just what you’re going to do. Don’t tie it tightly, just enough to keep the foliage together at the base.
Now start gently twisting the ponytail around on itself to turn that ponytail into the bun. (Guys, get a girl to demonstrate.)
The entire foliage mass will, indeed, “bun down.” Adjust it slightly so that the top of the bun is a horizontal mass of overlapping foliage:
The clump has made its own “thatched roof” of foliage. Tuck the ends of the foliage underneath, and, if you want, tie around the base again to hold everything secure. Not tight, just secure.
Now cover the whole thing in the bark nuggets, and put your cardboard “roof” on top. Adjust the nuggets underneath the cardboard, adding a couple of handfuls as needed so that the nuggets fill the space from the ground right up to the peak of the “roof.”
If there are prevailing winds from a given direction, have your roof’s low sides align with it. The goal is that the cardboard will shed Winter water, while the big nuggets themselves will still let in some air at the sides but keep out direct blasts.
You don’t want to suffocate the clump; you only want to keep it out of direct precipitation and moderate the air that does enter under it. It’s essential to do all of this on a dry, cold, Fall day, too: You don’t want to trap unnecessary moisture under the cardboard, let alone right between the leaves, lest the clump rot.
Now pour a bag (or two) of regular “tasteful” mulch on top of the cardboard to hold it down regardless of the winds to come. (I even put a fireplace log on either side too.)
Yes, the result will look like a small beaver hutch. My garden is full of them each Winter. And now, say goodbye to your kniphofia for the season.
When the worst of Winter is through (early April for me), return to your kniphofia and reverse the process. Scuffle back the tasteful mulch, peel off (or even through) the cardboard, which will have become quite wet and fragile but will have retained its ability to shed precipitation just fine, and then, with hope in your heart and tenderness in your fingers, explore down through the bark nuggets to find the “bun” of foliage.
The foliage will probably have turned brown and may even have become (yuck) stringy and seaweed-like. Keep the faith. Untwirl it if you can, or, if it’s really rotted away, gently pull it free from the clump.
You’ll find (I hope) lots, or at least a few, foliage rosettes that are still green at the base and even new green sprouts from underground. Don’t be discouraged if there aren’t very many: The kniphofia may just have figured out that it was, indeed, best to retreat fully underground.
Don’t leave all of that tender growth exposed! With kind grace, feather mulch back around the exposed (and cleaned up) clump, so the new growth is almost or even fully (but just barely) covered with mulch.
As the weather warms, check in on the clump, feathering the mulch back bit by bit to expose the growth tips more and more. Soon you’ll want to expose the growth completely, plus some of the soil around it, so the soil can warm up too and help the growth along with that much faster.
There will almost certainly be too much mulch around your colony; scoop it up in double-handfuls for use elsewhere in your garden.
By the time the warm weather has truly settled in, you should have a thick colony of new growth. And as long as your kniphofia gets enough sun in the Summer, you’ll have remarkable flower spikes too.
Handling Kniphofias in the warm month
They are very low-maintenance, needing only to have entire flower spikes cut off at the base when they’ve gone past. Be on the lookout for emerging new flower spikes, which you won’t want to damage. Some knips produce new spikes steadily throughout the growing season.
Downsides
Unless your drainage is impeccable or your climate a healthy Zone 7 and warmer, overwintering kniphofias is a project in itself. On the other hand, as exciting as they are, kniphofias are no big deal where they are comfortably hardy. The plants are bullet-proof there. Whereas kniphofias that thrive where they normally don’t? A thrill.
Variants
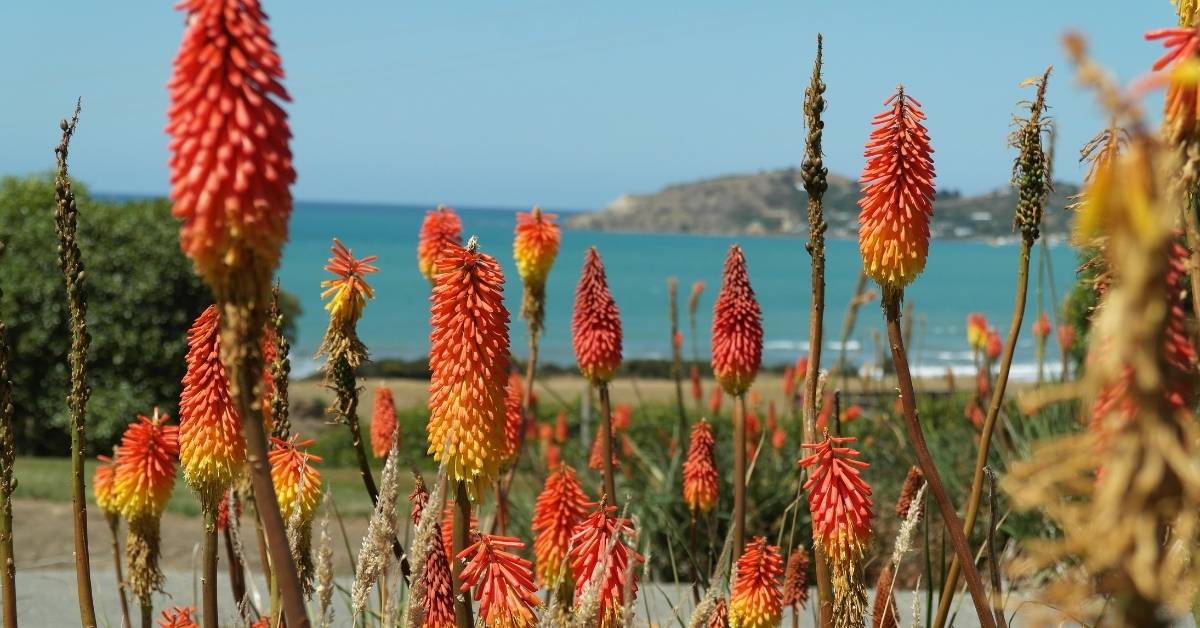
There are many species, hybrids, and cultivars. Once you’ve succeeded with one kniphofia, it’s impossible to resist trying more. There’s a huge range in flower colors, from caramel and near-white to yellow to deep orange and vermillion.
Some flowers—especially of the straight species—open up a lighter color but quickly age to a darker one, giving the bloom spike a dramatic but often tacky bi-color look. The bloom spikes themselves can be skinnier or fatter, lengthy or squat, and are held at the top of thick stems that can be one foot to seven feet tall.
Some plants are small enough overall to be mistaken for liriope; others are huge and even architectural presences that you might mistake for aloes, agaves, or floppy-leaved yuccas. Some bloom just once, but that could be in Spring or Summer. Others rebloom with gusto and over a long period.
Availability
Online, especially in their “easy-to-grow” range of Zones 7, 8, and 9, at retailers. Some specialty on-liners have a score or more of different kniphofias, and new ones are added yearly.
Propagation
Division in early Spring; the straight species can be grown from seed.
Native habitat
Africa. The tribe is named for Johann Hieronymus Kniphof, an 18th-century German physician and botanist. So the correct pronunciation should be “k’nip-HOFF-ee-uh” instead of “knife-OFF-ee-uh.” Now you know.
