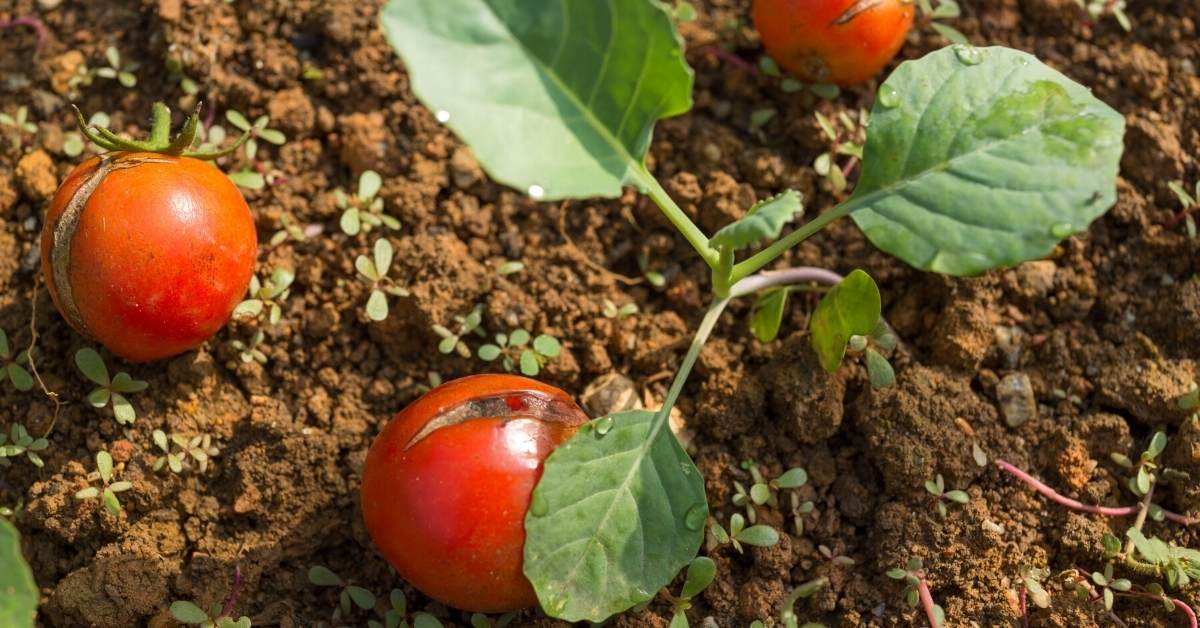
Straw bale gardening, aka hay bale gardening (although there is a significant difference, and I don’t recommend using hay – which I explain the reason below) or hotbed) are ideal for gardeners who don’t have much room or have poor soil. Gardening straw is an excellent soil substitute. You may plant your vegs in any place you have room for your straw bales since it acts as a natural container for your plants.
In today’s post, I will talk about my experience with straw bale gardening. You will learn;
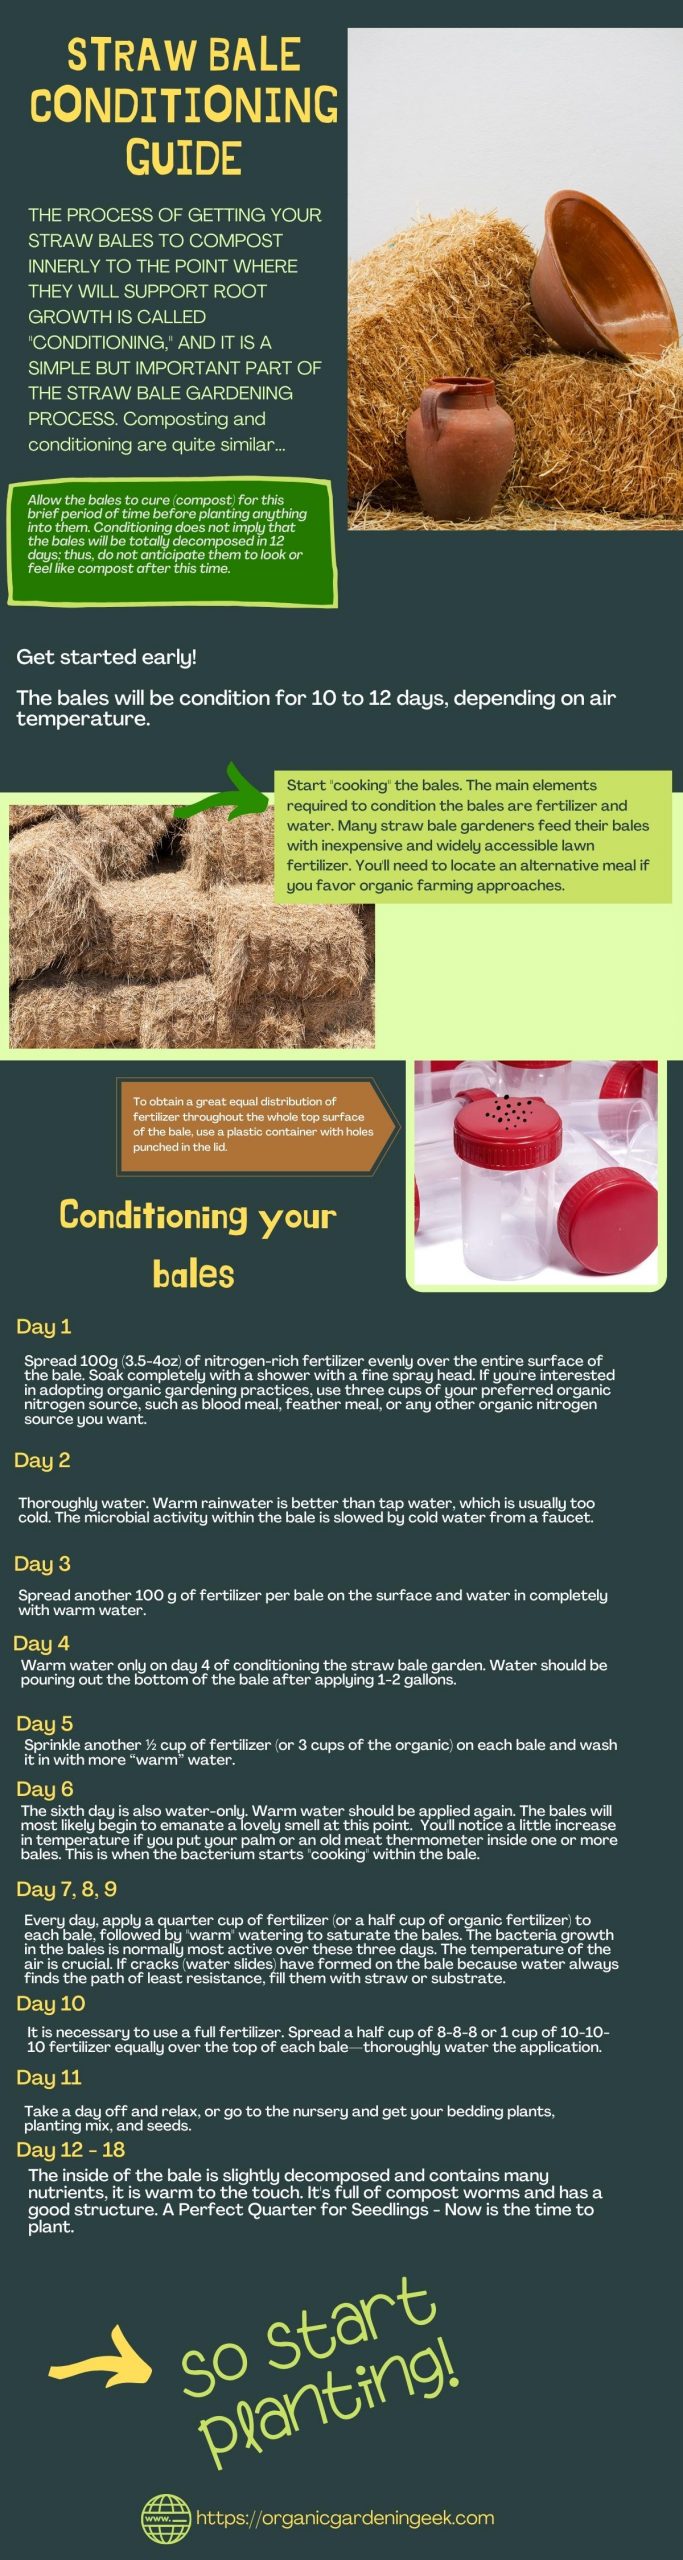
- How you can successfully condition the gardening straw bales from day 1 to day 12,
- Eliminate the straw bale gardening problems, and
- 10 vegetables that you can successfully grow in your straw bale garden.
My impetus for trying gardening with straw bales came from questions I received on it at a couple of seminars in the spring of 2018. Some attendees had good luck, and although I tried it many years ago with poor luck, I now had some references to follow that made a big difference.

The area I chose was just inside the area I exercise my daughter’s two dogs. It had a chain-link fence to train the climbing vegetable on as well as a structure to lean the bales against.
My bale garden was quite successful even though I didn’t start until late May when I had some time to spend on it. It was very successful, and I now have a year of experience behind me, so now I can improve on my success this year.
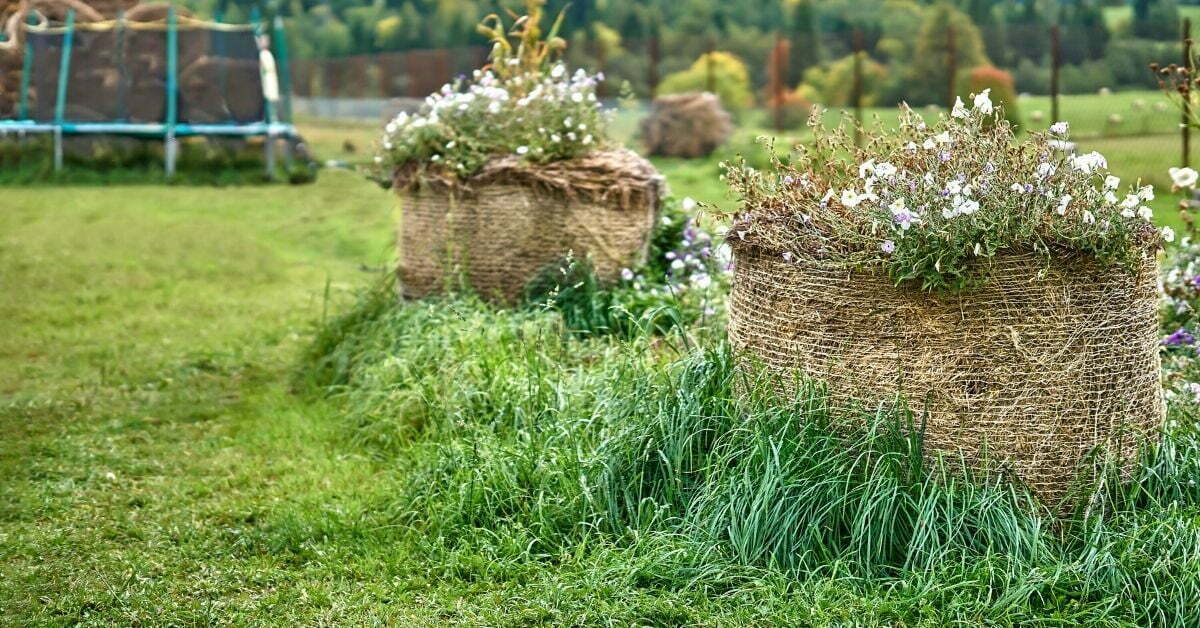
First, the process I missed when I tried the straw bale method before was to condition the bales before planting. It took about two to two and a half weeks to accomplish. It starts by placing the bales on their side, so the pointed straw sides are pointed up.
This means that the long smooth side is against the fence. It took about 12 bales for the area I wanted to cover, and I placed 12 bales about 6 feet away from the fence for a vegetable that didn’t climb.
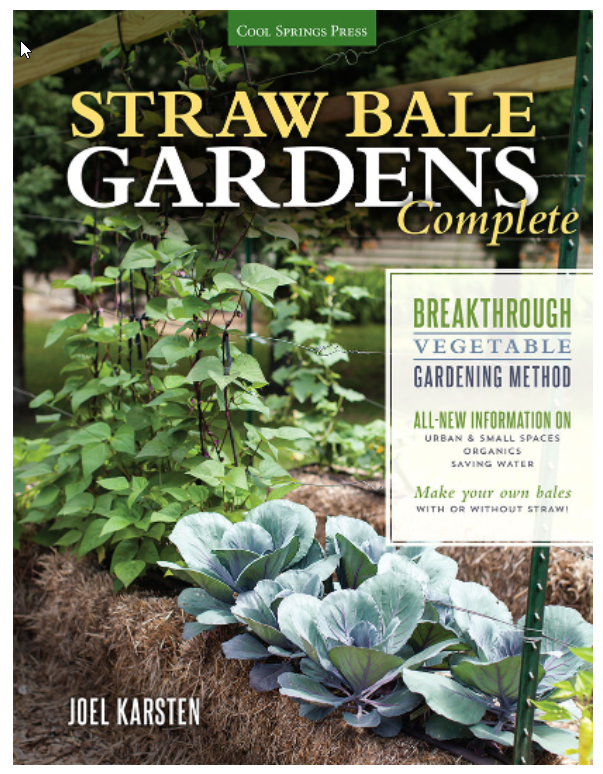
Before we jump into the topic, If you need to dive into straw bale gardening and learn each detail about it with step-by-step illustrations and explanations, I strongly recommend you buy Straw Bale Gardens Complete by Joel Karsten. This 180-paged masterpiece will be your only go-to source for strawbale gardening.
What is the difference between straw bale and hay bale?
There are basically nutritional and purity differences between straw and hay bale products. Both are useful depending on your aim but not for bale gardening. Check out the video for more information:
What is the most suitable gardening straw for straw bale gardening?
Keep an eye out for large, heavy, hefty bales. This implies they’re compressed tightly and won’t shrink much during the growth season. I recommend five bales of produce per family member so that a twenty-bale garden will provide enough vegetables for a family of four for the whole season.
Check to see if the straw bales have been “harvested.” In rare cases, straw is chopped and baled without the seed heads being collected, resulting in the entire bale sprouting and producing “hair” and a Chia Pet blooming in your yard. As previously said, make sure it’s straw and not hay. Hay is more of a commodity than straw in most parts of the world; hence it costs more per bale.
How do you condition a straw bale for gardening?
The process of conditioning was to water the bales thoroughly for several days. This soaked the bales, and now they were ready to have the nitrogen that would start the “internal composting” that allowed the nutrients to be available. This was done by sprinkling a half cup of urea on the top of the bale and watering it in.
I did this for ten days. Then I sprinkled a quarter cup of urea on the bales and watered it in for 10 days. This is all the fertilizer I used until after the bales were planted. The result of this conditioning was the bales were quite hot on the inside. It took about three days for them to cool off enough so the plants would not be injured.
Here is a detailed explanation of strawbale gardening conditioning:
Don’t miss watching this informative video:
Why Earthworms are very important?
Studies of earthworms in agricultural settings have found that earthworm burrows can improve water infiltration and soil aeration, and their castings (excrement) form soil aggregates by combining minerals and organic matter. Earthworm activity can also relieve compaction and make nutrients available to plants.
https://extension.unh.edu
Earthworms are among the garden’s most hardworking creatures. They assist in enhancing soil structure and build tunnels in the soil for air, water, and plant roots by processing organic material (both in the soil and in your compost pile) and recycling the contents into nutrients.
Watering Straw Bale Gardens
I wanted to make the maintenance of the bales as easy as possible, so I set up an automatic watering system. The watering system I used was a device that can be purchased from most garden centers and attached to a hose or water bib. It can be set to water once, twice, or more a day, and the amount of time can be set from five minutes to whatever you want to water.
My setting was once a day for 5 minutes. The hoses coming out of the watering regulator went to the center of the bales, and a soaker hose was attached that leaked the water out slowly for the time set.
The hose and soaker hose was still in great shape to use next year, so I hope to get a few years out of the system even though it costs a little to install. I also put a splitter in the line so I could attach a hose for hand watering if necessary.
How to fertilize straw bales?
You may condition your bales with inexpensive lawn fertilizer from any local garden center or hardware store. You’ll need around a pound for each bale you want to plant, so five pounds should be plenty for five bales.
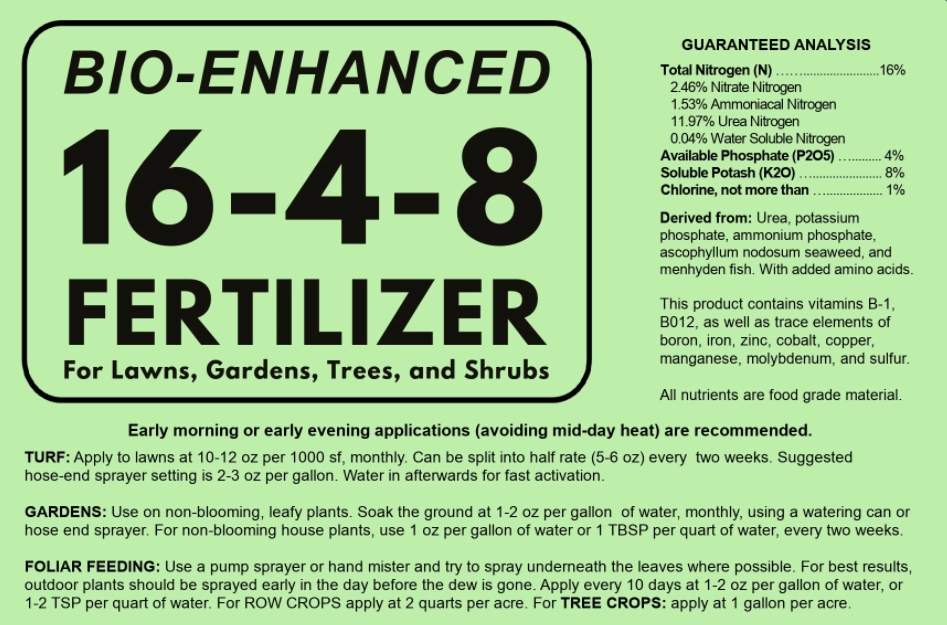
The three digits represent the content analysis on the side of each fertilizer bag. 29-0-4 means 29 percent nitrogen, 0 percent phosphorous, and 4 percent potassium (K). The same percentage analysis will be supplied in the same order on all fertilizer bags: N-P-K.
Look for a lawn fertilizer that has at least 20% nitrogen to guarantee that the bacteria in the bales are promptly active. Make sure the nitrogen in the fertilizer you’ve chosen isn’t slow-release. There are many fertilizer combinations available, but avoid anything that contains herbicide, weed killer, or crabgrass preventer.
Fertilizing Bale Gardens
So I added the initial nitrogen to the bale for the conditioning. It was only enough to compost the straw, so more fertilizer was needed to get the growth necessary. You can add this fertilizer by using compost tea, soluble plant food, or garden fertilizer.
Then I used a cup of 8-8-8 fertilizer when I planted the bales and then a weekly feeding with well-balanced soluble plant food. The growth from the bales was outstanding, and even though I had a late start, I received a bounty of produce.
Planting Bale Gardens
The method of planting depended on whether I was using started seedlings or seeds. If I used plants, I just used a trowel to open a slit in the straw and then placed the seedling at the depth it would be planted in the ground. When planting seeds, if the seeds were large, like cucumbers or melons, I just parted the straw and put the seeds a couple of inches deep.
With smaller seeds like carrots and beets that, if sown on the surface, would filter down in the bale and may not germinate, so in the areas I grew the seed crops, I first took some compost and peat-based potting soil and mixed them together about 1/3 compost and 2/3 potting soil. I then placed this mixture on the top of the straw, so I had an excellent level planting surface.
I spread the seed in a bed-type arrangement so seedlings would sprout all over the bale, and I put another inch of the mix over the seed and watered it to get good germination. Next year, I may place row cover material over the area to help with germination.
I used the newly grafted plants with the tomato, eggplant, and pepper plants to see how they would perform in this system compared to another method I used. I will further describe what happened when I reviewed my results by vegetable.
Straw bale garden problems
Some of the problems I generally had were halfway through the summer, the bales that were not against the fence started to tip as the composting must have gone faster on one side than the other. My solution was to put a fence post on one side of the bales and place 2×4’ on the posts to support the side that was tipping.
This helped, but some of the vegetables reacted to this. Again this will be described with the vegetable that was affected. I did water occasionally by hand if the bales seemed to be drier than I thought they should be, but in most cases, little extra watering was necessary.
Other possible problems you might face with straw bale method

1. Straw bales may be rather unpleasant.
Your straw bales will be loaded with water, fertilizer, dirt, bugs, and a variety of other pleasures by the end of the season, turning your straw bale into a disgusting mess. Your straw bales will decompose without hesitation, but understanding how to deal with your smelly, old straw bales before you start building your straw bale garden is crucial. You’ll wind up with half-composted straw bales and no way to dispose of them otherwise.
2. There might be a lot of weeds
Among the straw bale gardening challenges, this is perhaps my least favorite. You normally smother the weeds beneath the bale when you put up your straw bale garden, but weeds may still grow within the bale — and will do so with enthusiasm. The seeds within your straw bale will eventually sprout. They can be readily clipped or plucked, but weeds will take over if you ignore them.
3. The straw that isn’t organic
If you’re thinking about starting a straw bale garden, think about whether or not organic gardening is essential to you. Some straw is cultivated with synthetic fertilizers, pesticides, and other chemicals, causing your garden to become non-organic. Ask where your straw bales come from and how they were farmed before you buy them. Organic straw bales may prove to be worthwhile in the long run.
4. Straw bales are cumbersome
Your straw bales will be rather weighty, especially if they are damp. It’s easier on your back because you don’t have to bend over to the garden with straw bales. However, if you have a poor back, locate someone with a solid back to help you move your straw bales into place, or you risk injuring yourself even more.
5. Problems with instabilities
Even when thoroughly irrigated, Strawbale gardens might have stability concerns significantly if you’re growing tall produce like tomatoes or pole beans. Stake your veggies, allowing them to sprawl rather than grow tall, or weigh down your straw bales with cinder blocks are simple solutions to this problem.
Organic pest control for straw bale gardens
When growing organically, pest management can be difficult and annoying, but persistence and rapid action are essential. Insect problems are less common in straw bale gardens than in in-ground gardening. Remember that any pest or disease issues that afflicted last year’s soil garden might overwinter in the soil and resurface the following year.
There will be no complications because your straw bales are a completely different supply of “dirt.” If you do have a pest problem, begin treatment as soon as you notice it.
For example, early in the summer, watch for squash bug eggs laid in neat little rows on the backsides of mature leaves, and if you find any, just remove them to eliminate any future issues. If you find a few aphids, use a sprayer nozzle from your hose to combat them right away; encourage or release native parasites or predators like beetles.
If you have aphid midges, lady beetles, or lacewings, try covering young plants with a floating row cover (see the Straw Bale Greenhouse chapter), spraying hot-pepper, or garlic repellents, and using insecticidal soap, Neem, or horticultural oil to the most severe infestations.
Continue to apply pesticides regularly until you detect little or no indication of the pests. Aphids are disgusting, and they reproduce like flies. If you see leaf eaters like caterpillars or cutworms, spray them with B.t. (Bacillus thuringiensis) or handpick them since they are flies. These may also benefit from the floating row coverings.
If you see Japanese beetles, use insecticidal soaps; I’m now sure that pheromone traps merely attract more insects than they catch, and I’ve discovered that shaking the bugs off or blasting them with insecticidal soap every morning works just as well.
When they’re incorrect, it’s only for around three weeks every season, so perseverance pays off. The majority of organic pest management strategies that are advised for traditional soil gardens will also work in your Straw Bale Garden. Don’t give up; it won’t be easy, but nothing worthwhile ever is.
Vegetables successfully planted in the Straw bales were:
1. Tomato Plants
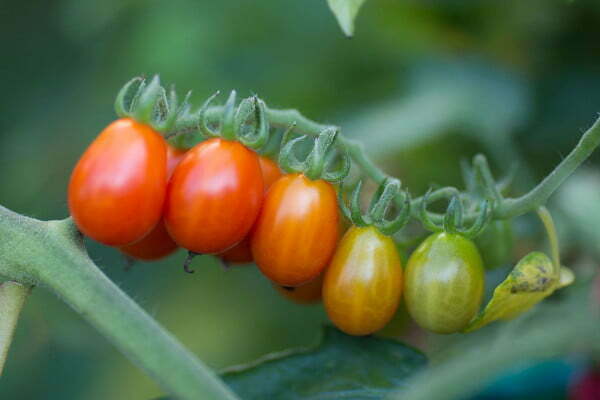
I used the new grafted tomatoes that are sold in the garden centers to see how they would perform. The primary instruction with these plants is not to plant the graft in the ground, so they can’t be planted too deep. The graft is only an inch or so above the root system.
The other major cultural instruction is they should not be allowed to touch the ground as they would root and interfere with the disease resistance gained by the root system. This is how I did the tomato plants; the bale was parted with a trowel just deep enough to insert the root system with the graft above the ground.
The tomatoes were planted near the chain-link fence to be trained on the fence as they grew. This would be done by using twist ties to hold the vines to the fence as they grew. Remember that you need to tie the vines loosely so the vine has room to grow in diameter as it matures. Tomatoes were a resounding success in this system as the vines grew up and over the 4’ fence.
They produced abundant tomatoes. I had to prune the suckers as the vine grew to keep the vines under control. These tomatoes produced fruit through the season and right up to the time they froze. Our cellar is full of canned tomatoes and tomato sauces that we made with Mrs. Wages tomato mixes. We made pasta sauce, tomato paste, salsa, and a couple of others.
2. Pepper plants
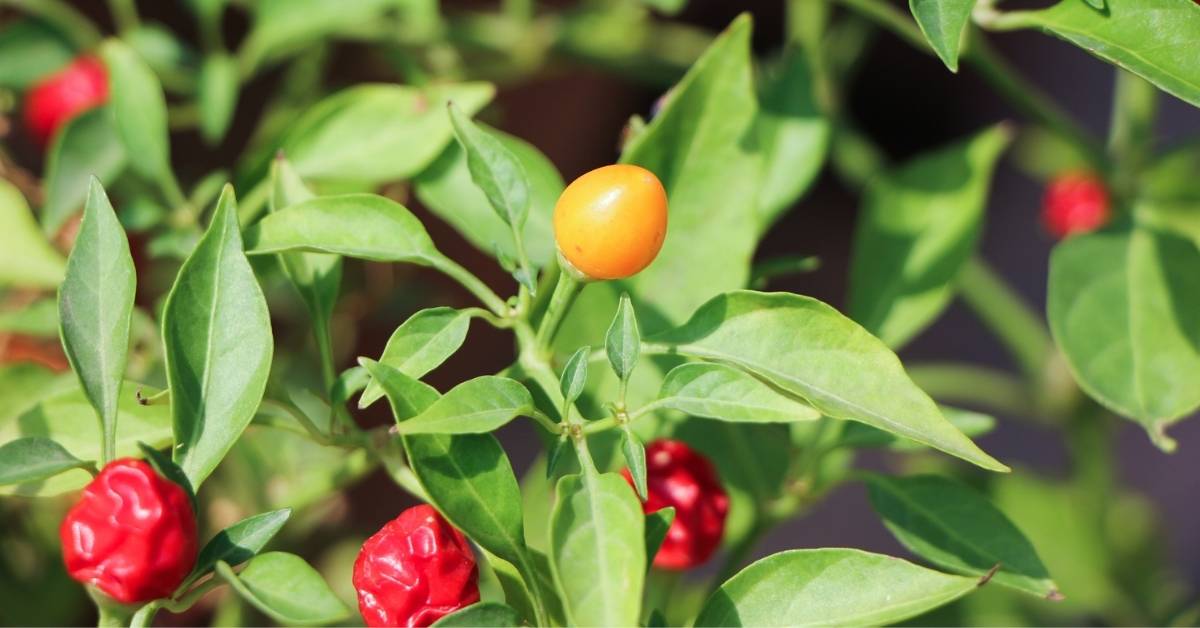
We also used grafted pepper plants. They also produced a lot of fruit. Next year, I will stake the plant on poles or twist-tie them to the fence as they become so heavy with fruit that they tip over or were hidden when they leaned against the fences.
The combination of the bale garden and grafted plants more than doubled the peppers that were produced. We did both green bell peppers and jalapeño hot peppers. Next year I may acidify the area around the plants as peppers like a little sour soil.
Eggplants – I used the grafted eggplant variety Epic (formerly Dusky). The plants were very productive, but staking is also necessary to make sure the fruits mature and are visible. A bamboo stake or tying to the fence, if one is available, would do.
3. Vine Crops
Vine crops planted in the bales next to the fence were Cucumbers Sweeter Yet Hyb and Summer Dance Hyb. Both of these are slicing cucumbers that grow long, slim cucumbers when on a fence or trellis. Needless to say, all our friends had as many cucumbers as they wanted.
I also tried the Watermelon Sugar Baby, a small 6 to 8# melon. I used twist ties in the area where the melons were produced to help support the weight, but they did well also. Be sure you harvest them before they get too ripe, which is what happened to a couple of them.
I also planted Perfect Pick Hyb zucchini seeds on the bale row, not on the fence. It produced an abundance of fruits which is what happens with zucchini. At the end of the row of bales not on the fence, I planted a hill of Butternut Squash. The vines did grow out into the lawn and produced 8 to 10 fruits that were great in the fall when winter squashes were harvested. Needless to say, vine crops were a great success.
4. Sweet Potatoes

I planted several sweet potato vines in the bales that were not on the fence, but they were planted so late that the number of sweet potatoes was not the greatest. Next year I plan to start conditioning the bales in early April so they get in earlier. I think I also needed to use more fertility in the area where the sweet potato vines were planted.
5. Irish or Common Potatoes
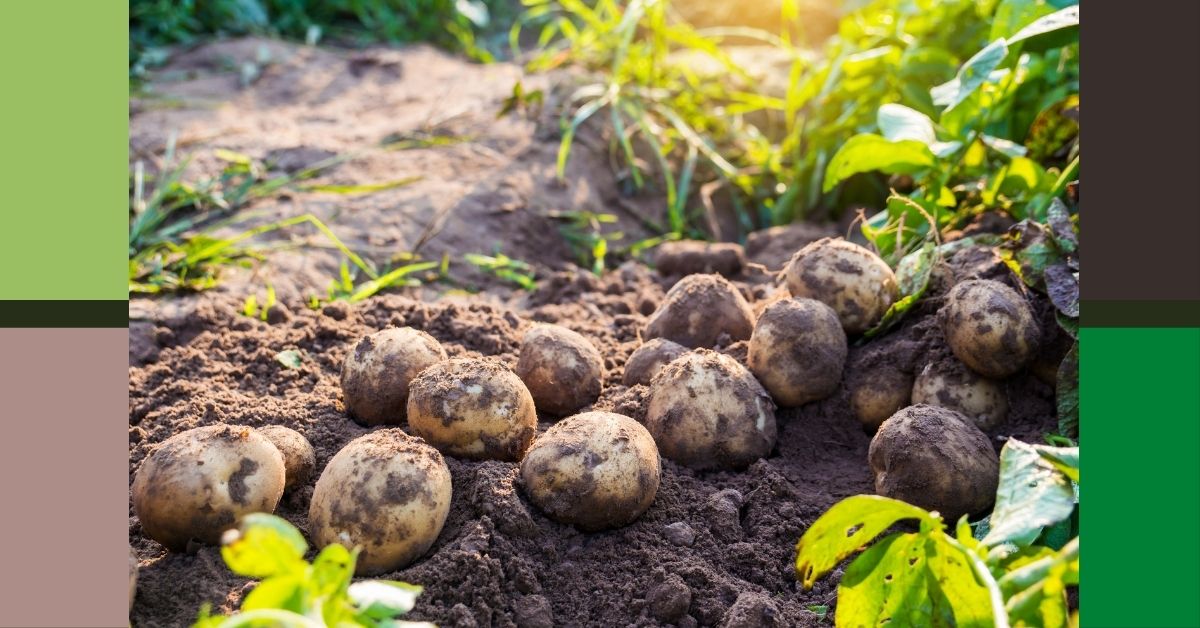
With these potatoes, I got a late start and placed the chunks approximately halfway down in the bales. I didn’t expect to discover many potatoes, but as I cleaned up the bales, I was amazed to find several potatoes deep within the bales. On the Kennebec I planted, they were quite prolific and produced a lot of huge potatoes.
Others also performed admirably. Because several potatoes wound up towards the bottom of the bales, I didn’t see them until I cleaned up the bale area. Next year, I’ll clear out the bales early in the fall to ensure that all of the potatoes are found. I aim to plant them early next year in the hopes of getting a lot more potatoes. By mid-to late-summer, I’ll be hoping for early tiny potatoes.
6. Cabbage Plants
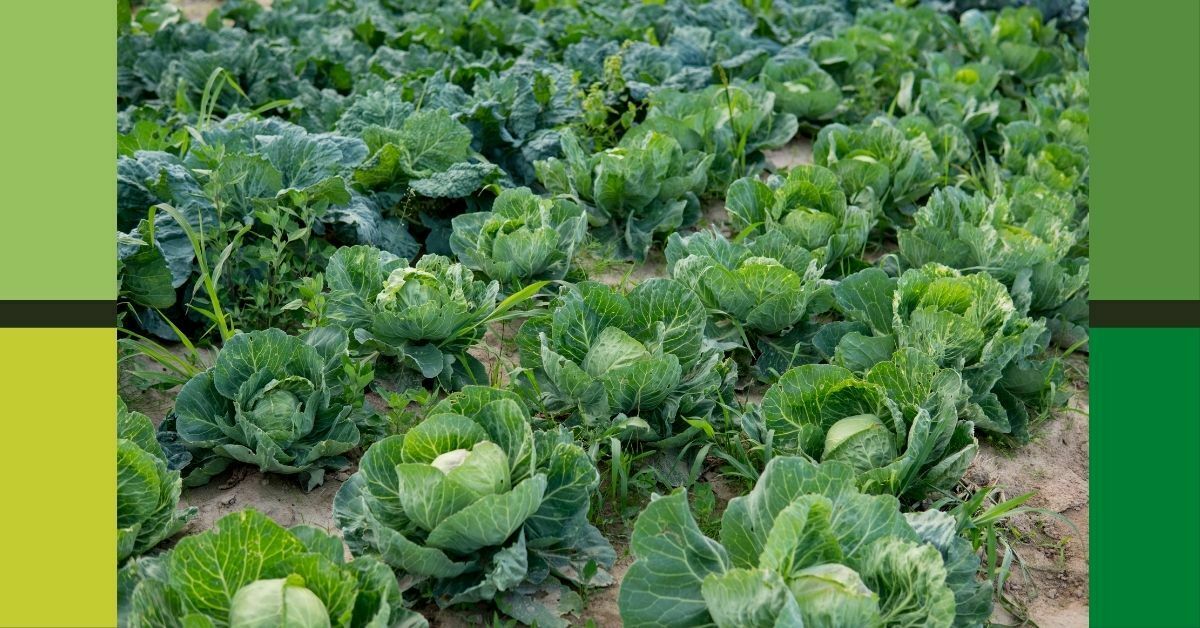
Cabbage plants planted in the bales did great. I used a large variety called Megaton, and we harvested a couple of really great heads. Early cabbage with smaller heads would work a little better, but this variety did well and was very good.
7. Broccoli/Brussel Sprouts

We planted three or four plants of Packman Broccoli. The main heads were very large and matured fast. Then every couple of weeks, we were able to cut side shoots to have a nice meal or to freeze for the winter. We did treat the broccoli with Thuricide to control cabbage loopers and were very pleased with the results.
Broccoli was one of the easiest plants to grow on the bales. Brussels Sprout plants need to be staked or tied to the fence. The ones I planted were not staked, and they sprawled on the ground. Although the sprouts formed nicely, they would have been better if they were stalked or attached to the fence.
8. Peas/Beans
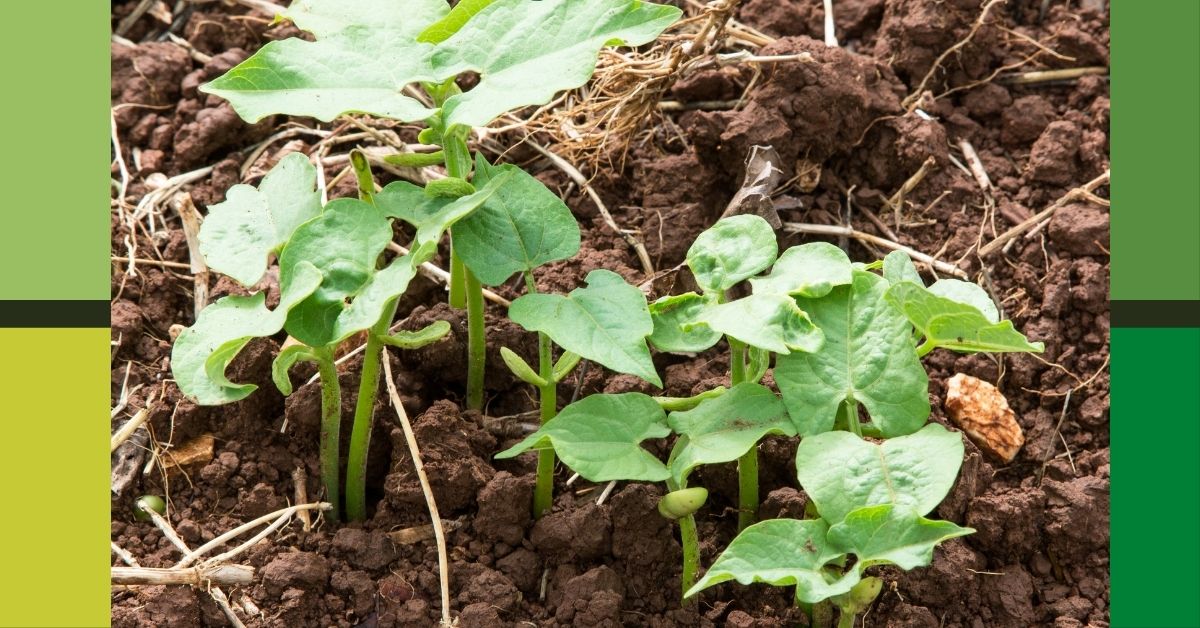
On the bales behind the cabbages and broccoli, we planted a few types of peas. The vines found the fences, and they grew up it beautifully. Snow peas and snap peas are my favorites, but I believe any of the peas would have thrived in this environment. I didn’t plant pole beans this year, but I want to do so next year to see how they do. I’m thinking about trying the yard-long beans in addition to the pole beans.
9. Carrots
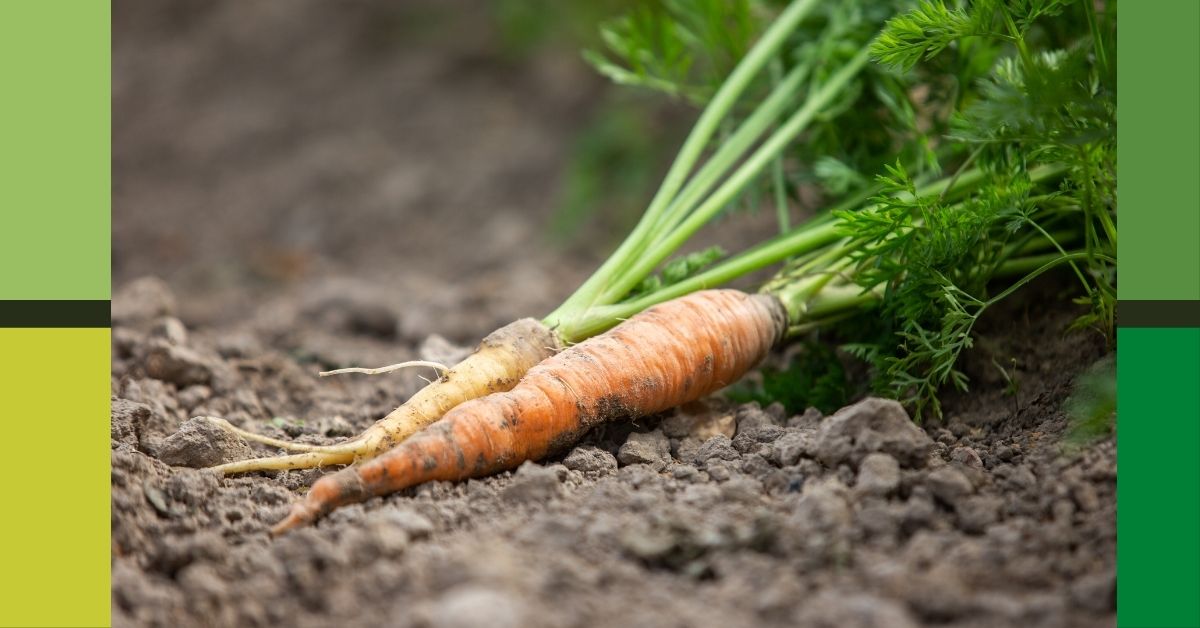
I went a little too far with the carrots. In order to get the most out of the bales and produce a good crop of carrots, I covered most of the unfenced bales with the compost/potting soil mix and planted carrots over much of the area.
I had a feeling the ones that were shaded by sweet potatoes or other crops might be a little smaller. To test how many carrots I could grow, I distributed seeds across the majority of the surfaces.
A variety of cultivars were planted to test which would produce the finest bales. Although we produced a bumper crop of carrots, many of them lacked the long, straight roots that you want. I believe the carrots that were produced were twisted and forked because the roots were harmed when the bales began to tip.
Despite my efforts to decrease the number of seedlings, several clusters were discovered, and the size of the carrots did not appear to be reduced. The carrots were late in developing, as they were in August, and the roots were still thin and little. I had almost a bushel of carrots by the time I cleaned up the bales.
10. Onions
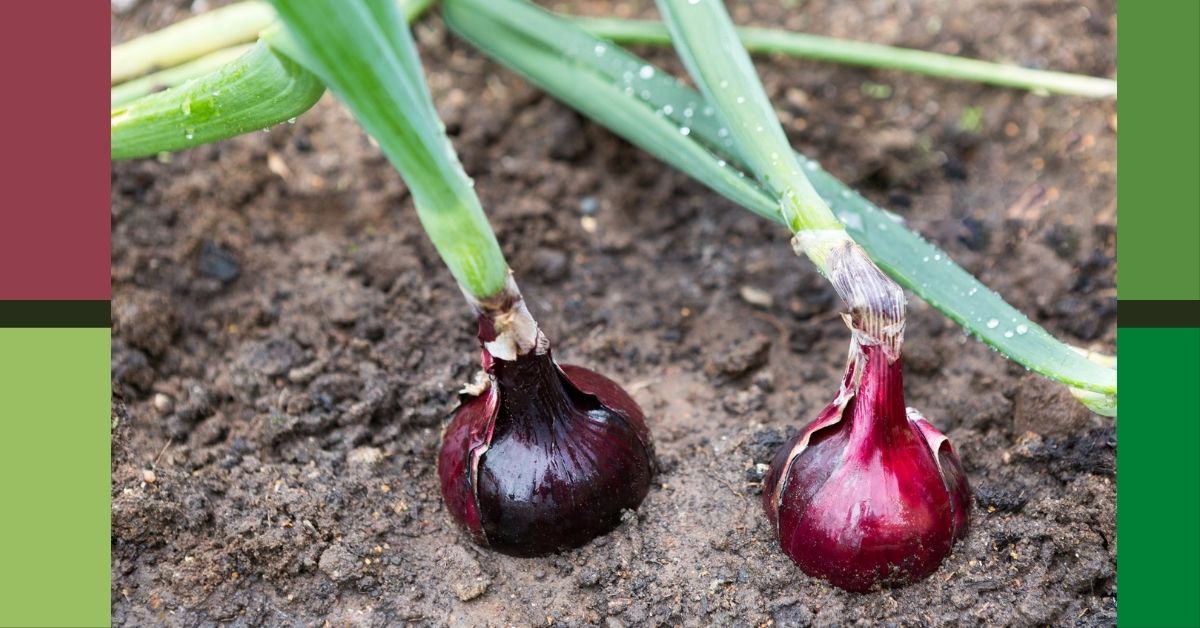
Now I’ll get to the one I need to work on. Despite planting a few bunches of onions, I did not see the growth I had hoped for. I’m not sure if the nitrogen level was too low or if the lack of water prevented them from growing, but the onions I planted did not yield the results I had hoped for.
Another note about the bales: by mid-summer, they had produced several black mushrooms. These are there because the straw is composted by microorganisms that produce mushrooms as fruiting structures. The mushrooms will either fade away or be eradicated.
They have no effect on the crops that sprout out of the bales. I’ll use more fertility during the season and at the conclusion of the season, and I’ll clear up the bales much sooner because I discovered frozen potatoes towards the bottom of the bales.
Sweet corn is one veggie I don’t think will work. I don’t think the stalks would be able to stand on their own. I haven’t tried lettuce yet, but I plan to do so soon. Any advice from experienced bale gardeners would be much welcomed.
Where to buy straw bales?
You can buy hay or straw bale from your nearest local store, local plant nurseries, garden centers, or online. If you prefer online purchase, farm feed and supply businesses such as TractorSupply, and craft stores such as Michaels or Hobby Lobby, and home improvement stores such as Loweu0027s or The Home Depot all sell hay bales and straw, as well as Amazon.
How many plants per straw bale?
Itu0027s critical to know how many plants to add to your straw bale garden. As a general rule, just 2 of each kind of bigger plant should be placed in your straw bale.u003Cbru003Eu003Cbru003Eu003Cbru003EItu0027s best to plant 2 of these plants in a straw bale if youu0027re producing dwarf corn. Until the bale is full, you could plant u003Cstrongu003Etwo moreu003C/strongu003E bigger plant kinds.u003Cbru003Eu003Cbru003Eu003Cbru003EOn the other hand, smaller plants can be added up to 5 of each smaller plant species per bale. In one straw bale, you may grow 5 pea or bean plants.
How to control weeds in strawbale gardens?
Weeds should be scarce as long as the bale(s) are mostly weed-free and any additional compost has few weed seeds. Check any developing weeds in the bale(s) and eradicate them as soon as possible. u003Ca href=u0022https://hgic.clemson.edu/factsheet/straw-bale-gardening/u0022 target=u0022_blanku0022 rel=u0022noreferrer noopeneru0022u003EPlace a barrier, such as newspaper or cardboard, behind the bale(s)u003C/au003E before conditioning if they will be planted on existing u003Ca class=u0022wpil_keyword_linku0022 href=u0022https://organicgardeningeek.com/best-grasses-for-southern-california/u0022 title=u0022grassu0022 data-wpil-keyword-link=u0022linkedu0022u003Egrassu003C/au003E or a naturally weedy area.
Conclusion
Overall, I had outstanding success with my first attempt at straw bale gardening, but I am hoping to do a better job next year. My hope is to get started earlier next spring.