Growing seeds indoors provides innumerable benefits to the home gardener, including extending the growing season, improving the survival rate of young plants, and allowing for an earlier and more fruitful harvest.
Fortunately, the process is simple and can be done with any plant. Here are some tips on how to start seeds indoors to help ensure the success of your seedlings.
When to Plant Seeds Indoors
The time to plant your seeds will largely depend on the type of seeds being planted. Generally speaking, most annuals should be planted approximately 6 weeks prior to the date of the last frost in your area. You need to be cautious not to start your seeds too early.
Transplanting is incredibly stressful for plants, and by starting seeds too early, you risk needing to transplant them into a larger pot before being able to transplant them outdoors. Transplanting twice will only increase the stress of the plant and decrease its chance of survival. Here is a general guide for when to plant certain seeds.
Though, be sure to research into the last frost date of your area to ensure you plant the seeds at the right time.
- Cucumbers, melons, and squash should be planted about 8 to 10 weeks before the last frost. They should wait to be transplanted outdoors until about 2 to 4 weeks after the last frost.
- Most annuals, including lettuce, beets, broccoli, and cabbage, should be planted about 4 to 6 weeks prior to the last frost.
- Peppers, which require ample warmth to thrive, should be started about 8 to 12 weeks before the last frost and transplanted outdoors about 2 weeks before the last frost.
- Eggplant and tomatoes should be planted roughly 6 to 8 weeks before the last frost.
- Onions should be planted about 12 to 18 weeks before the last frost and transplanted outdoors about 5 weeks before the last frost.
How to Plant Seeds Indoors
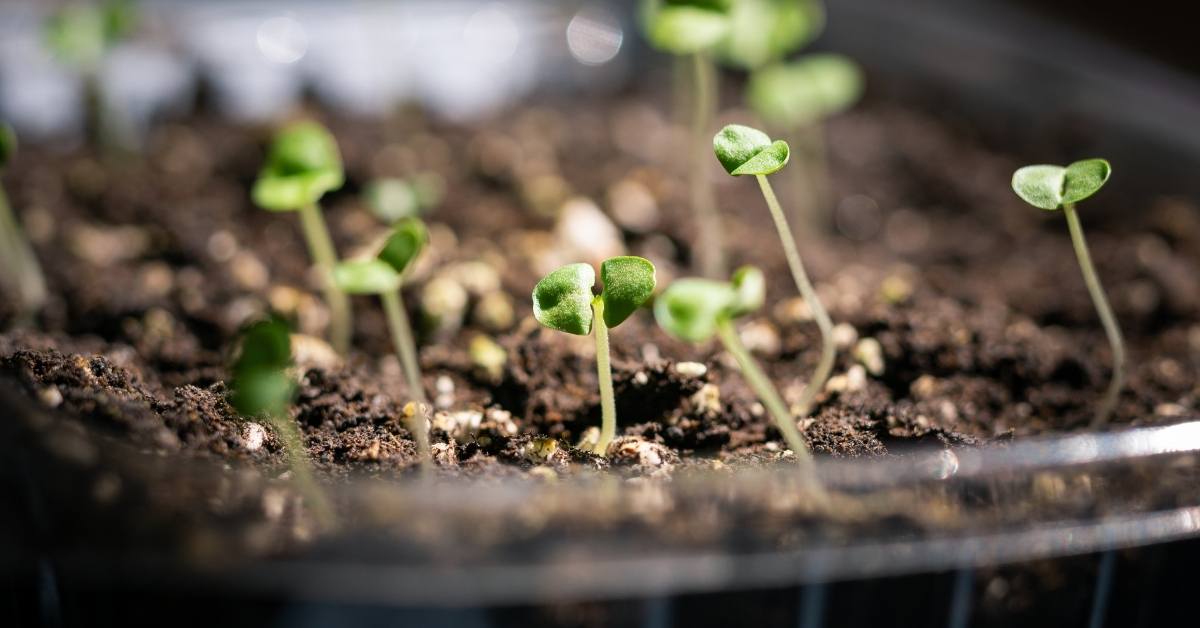
Starting the germination process indoors can improve the survival rate of fragile plants by providing them a controlled environment during their most vulnerable growth period.
Additionally, it will allow you to start your plants a few weeks prior to the last frost, which will enable you to grow larger, healthier plants and experience an earlier and more plentiful harvest.
What You Will Need:
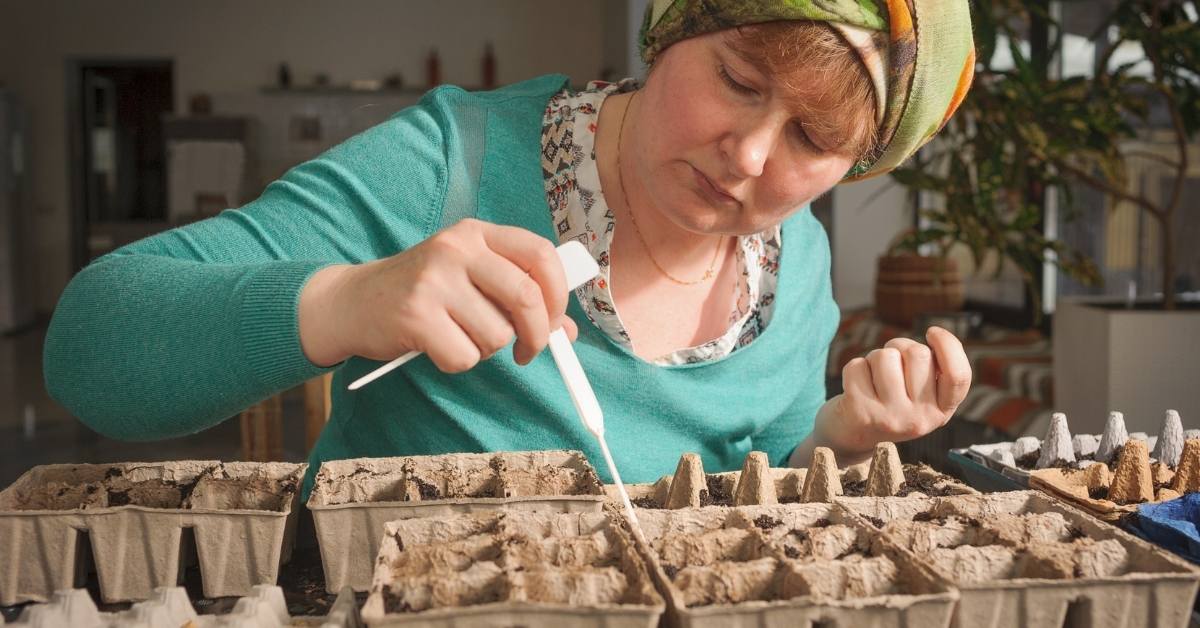
- Seed flats
- Vermiculite or perlite
- Peat moss
- Misting water bottle
- A marking pen
- Plastic plant labels
- Choose the location you wish to store the flats. You will want them on a flat surface, near a water source, and at a comfortable height that you can access easily.
- Choose your containers. The type of container you choose will largely depend on the plant. Different plants require different spacing and depths to grow. Generally speaking, most plants will require 1 to 2 inches of soil initially. Starting the seeds in seed flats is the most practical and space-conscious method. Once the root systems become established, the plants can be relocated to a larger pot. However, keep in mind that the root systems will be very fragile at this stage. For larger plants, consider starting them in a separate pot right away. You can also use peat pots or paper pots for particularly fragile plants because they can be placed directly in the ground during the transplant, which will eliminate the risk of damaging the root system.
- Mix together the peat moss and vermiculite or perlite in even quantities. This combination is preferable to a standard potting soil for many reasons. Seeds, initially, require no added nutrients to grow and are capable of sprouting successfully with little intervention, which eliminates the need for fertilizers or nutrient-rich potting soils. Additionally, the mixture needs to provide maximum drainage and aeration potential. Regular potting soils become overly dense when wet, which can damage the fragile root systems or impede the growth potential of the seed. Your soilless mixture doesn’t need to consist exclusively of the items mentioned above. Just ensure it is loose, aerated, and will enable proper drainage.
- Dampen the soilless mixture prior to filling the flats. Use warm water, and allow it to absorb into the peat moss fully.
- Place newspaper into the bottoms of the flat to help slow drainage.
- Fill your containers with the soilless mixture. The seed flats or pots should be filled just shy of the rim not to overflow when watered.
- Tap the container on the table a few times to allow the potting mixture to settle fully. Fill in any gaps with the additional potting mixture if needed. Be sure not to pack the potting mixture down. It needs to be loose so that the seeds can spread their roots easily.
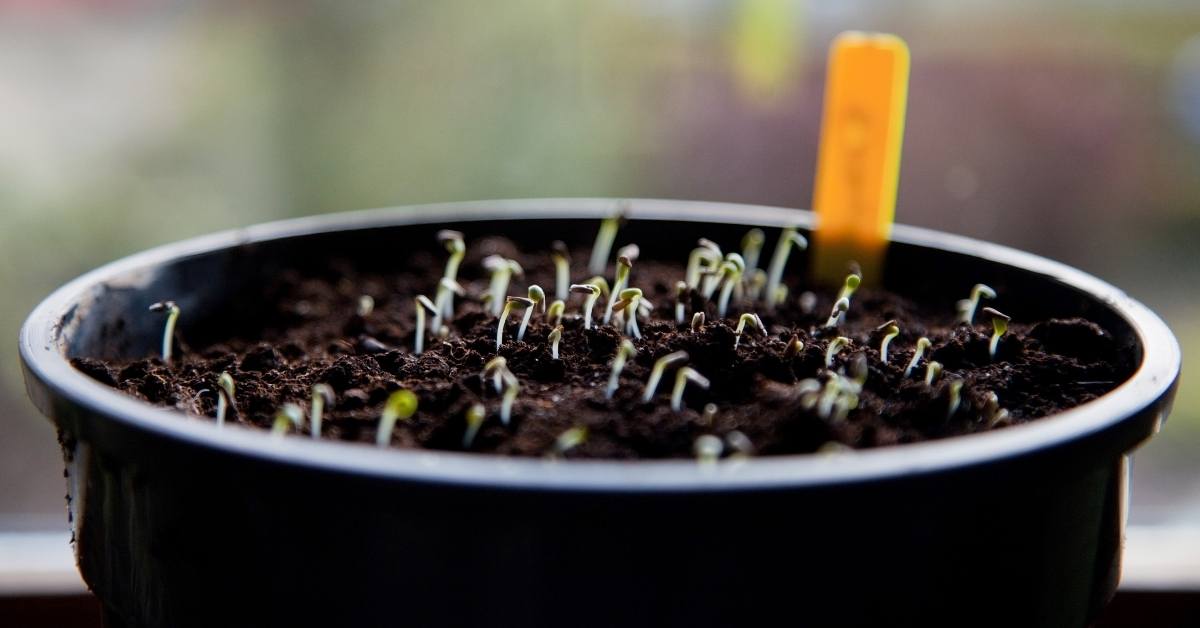
- The seed spacing and depth will be contingent on the type of seed you are planting when planting the seeds. If you are unsure of the precise depth or spacing, refer to the back of your seed packet for more detailed information. For larger seeds, a depth of ½-inch and about 1-inch apart is preferable. Depending on the size of your flats, you may only be able to fit one seed per section. For smaller seeds, they should be planted at a depth of ¼-inch and spaced about ½-inch apart. Given that not all seeds will sprout, it’s a good idea to plant at least two or three per section, particularly for smaller seeds. When the seedlings begin to grow, you can thin them out by plucking the smallest or least healthy plant in each section.
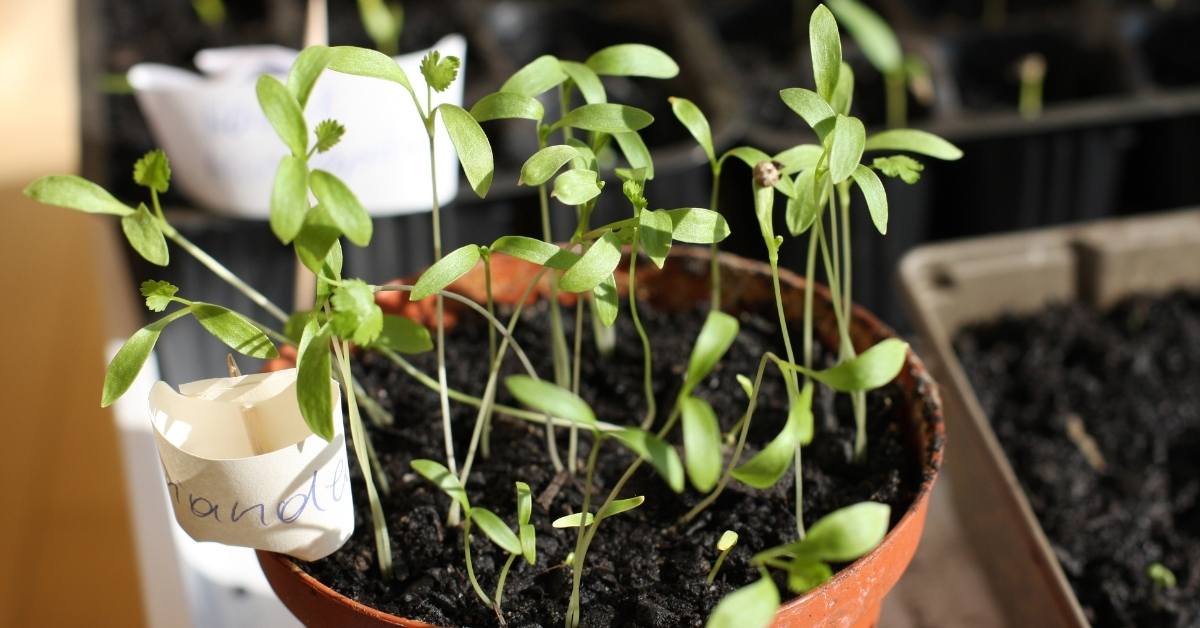
- As you plant the seeds, be sure to create a label for each variety so that you can keep track of what you have planted.
- Fill your water bottle with water and gently mist the flats so that all of the soil is moist but not wet.
- Place the plastic row covers on top of the seed flats, and store the flats in a warm and sunny location.
Continued Care Checklist
- Mist the seedlings daily to ensure they stay continually moist.
- Take note of the plant growth. If any plants seem to be outgrowing their containers, transplant them into a larger pot.
- After the date of the last frost, the plants should be ready to be planted outside. Before transplanting them, ensure that they have developed robust root systems. Any plants that still appear to be immature should remain indoors for another week or until they are strong enough to survive the transplant.
With the right tools and proper care, virtually any plant can be started indoors. In doing so, you can increase the likelihood of survival for many plants by giving them a controlled environment where they can easily lay their roots without being damaged by the elements.
When starting plants from seed outdoors, the seedlings will be more susceptible to frost, washing away in the rain, blowing away in the wind, or receiving insufficient water and warmth. These problems can be avoided with an indoor environment, allowing the plant to grow strong prior to being placed outdoors.
Don’t miss the video for the best tips to start seeds indoors: